
CASE STUDY: MAKING THE IMPOSSIBLE A REALITY THROUGH TECHNOLOGY
Learn how Haaksman Media helped one of it’s clients reach it’s visual goals for a new product launch.
INTRODUCTION
At Haaksman Media, I genuinely enjoy helping clients solve problems. In fact, that’s at the core of what we do—identifying a pain point and developing creative solutions to address it.
One of my wonderful clients, WilliamsRDM in Fort Worth, approached me about producing a marketing and trade show video for a new product launch. WilliamsRDM is a leader in technology solutions for the military, aerospace, and government sectors. Their client list reads like a who’s who of the defense and aerospace industries, so it was critical that their product be presented in a realistic and credible way. I spoke with Ben Hoskins, Director of Communications at WIliamsRDM to get his perspective on the project.
Previous product launch video produced for a division of WilliamsRDM - Stovetop Firestop
INITIAL DISCUSSION
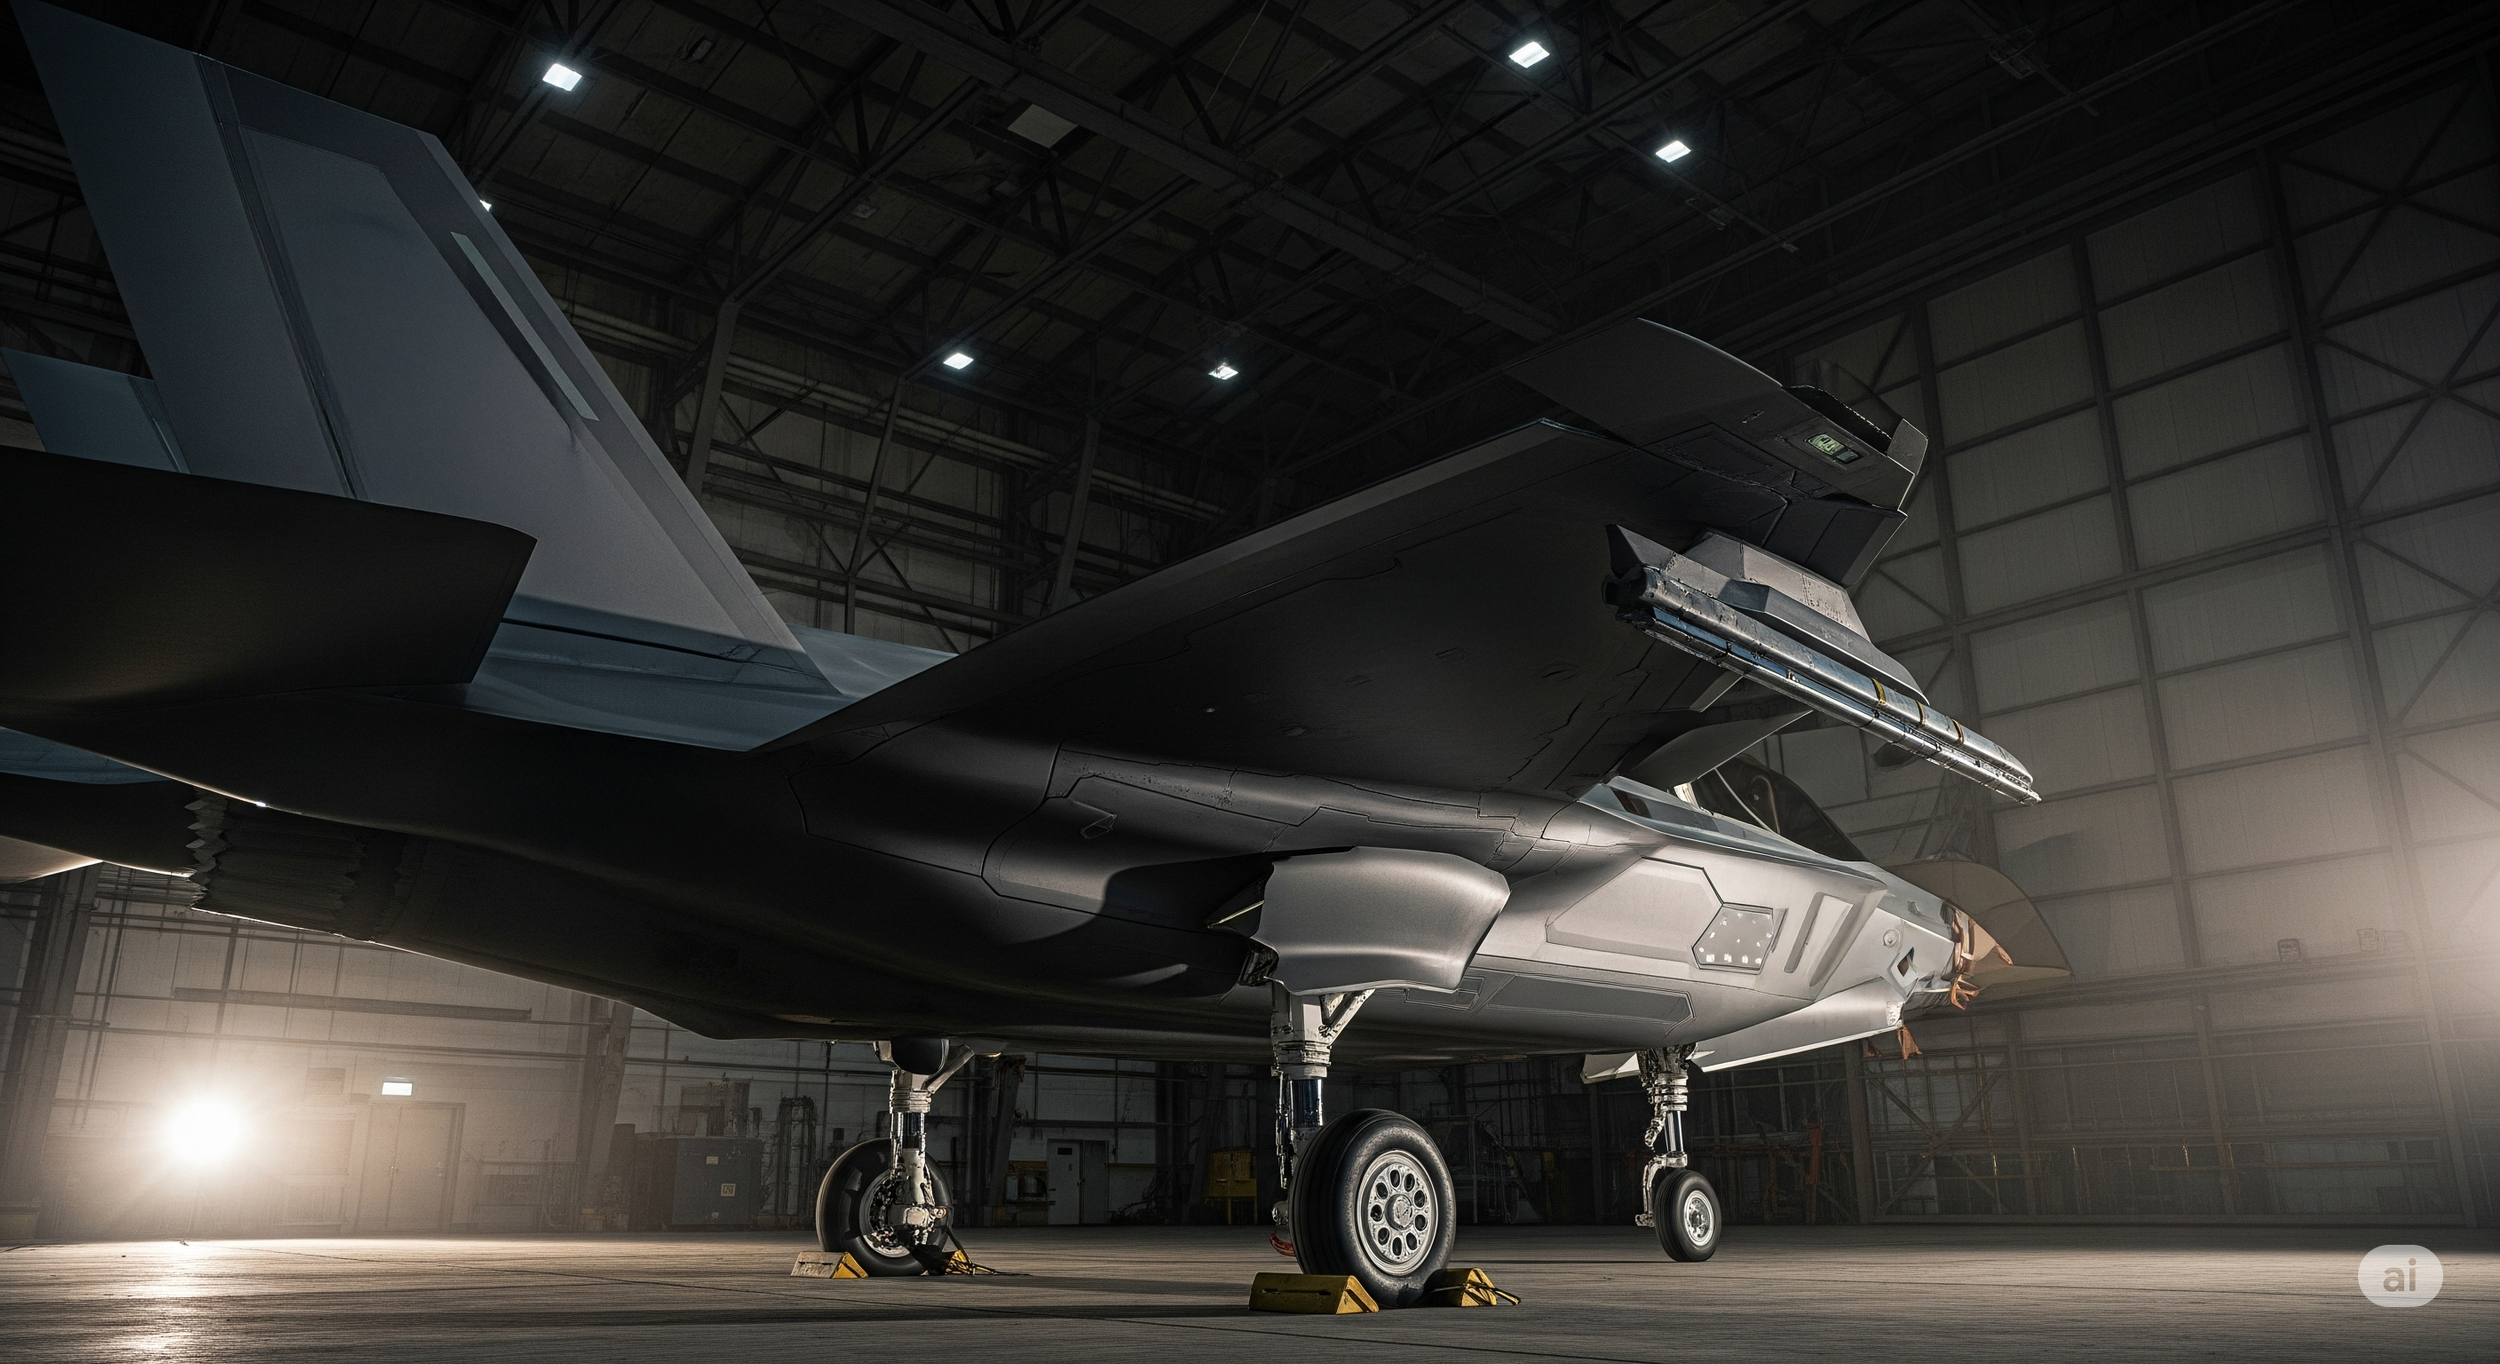
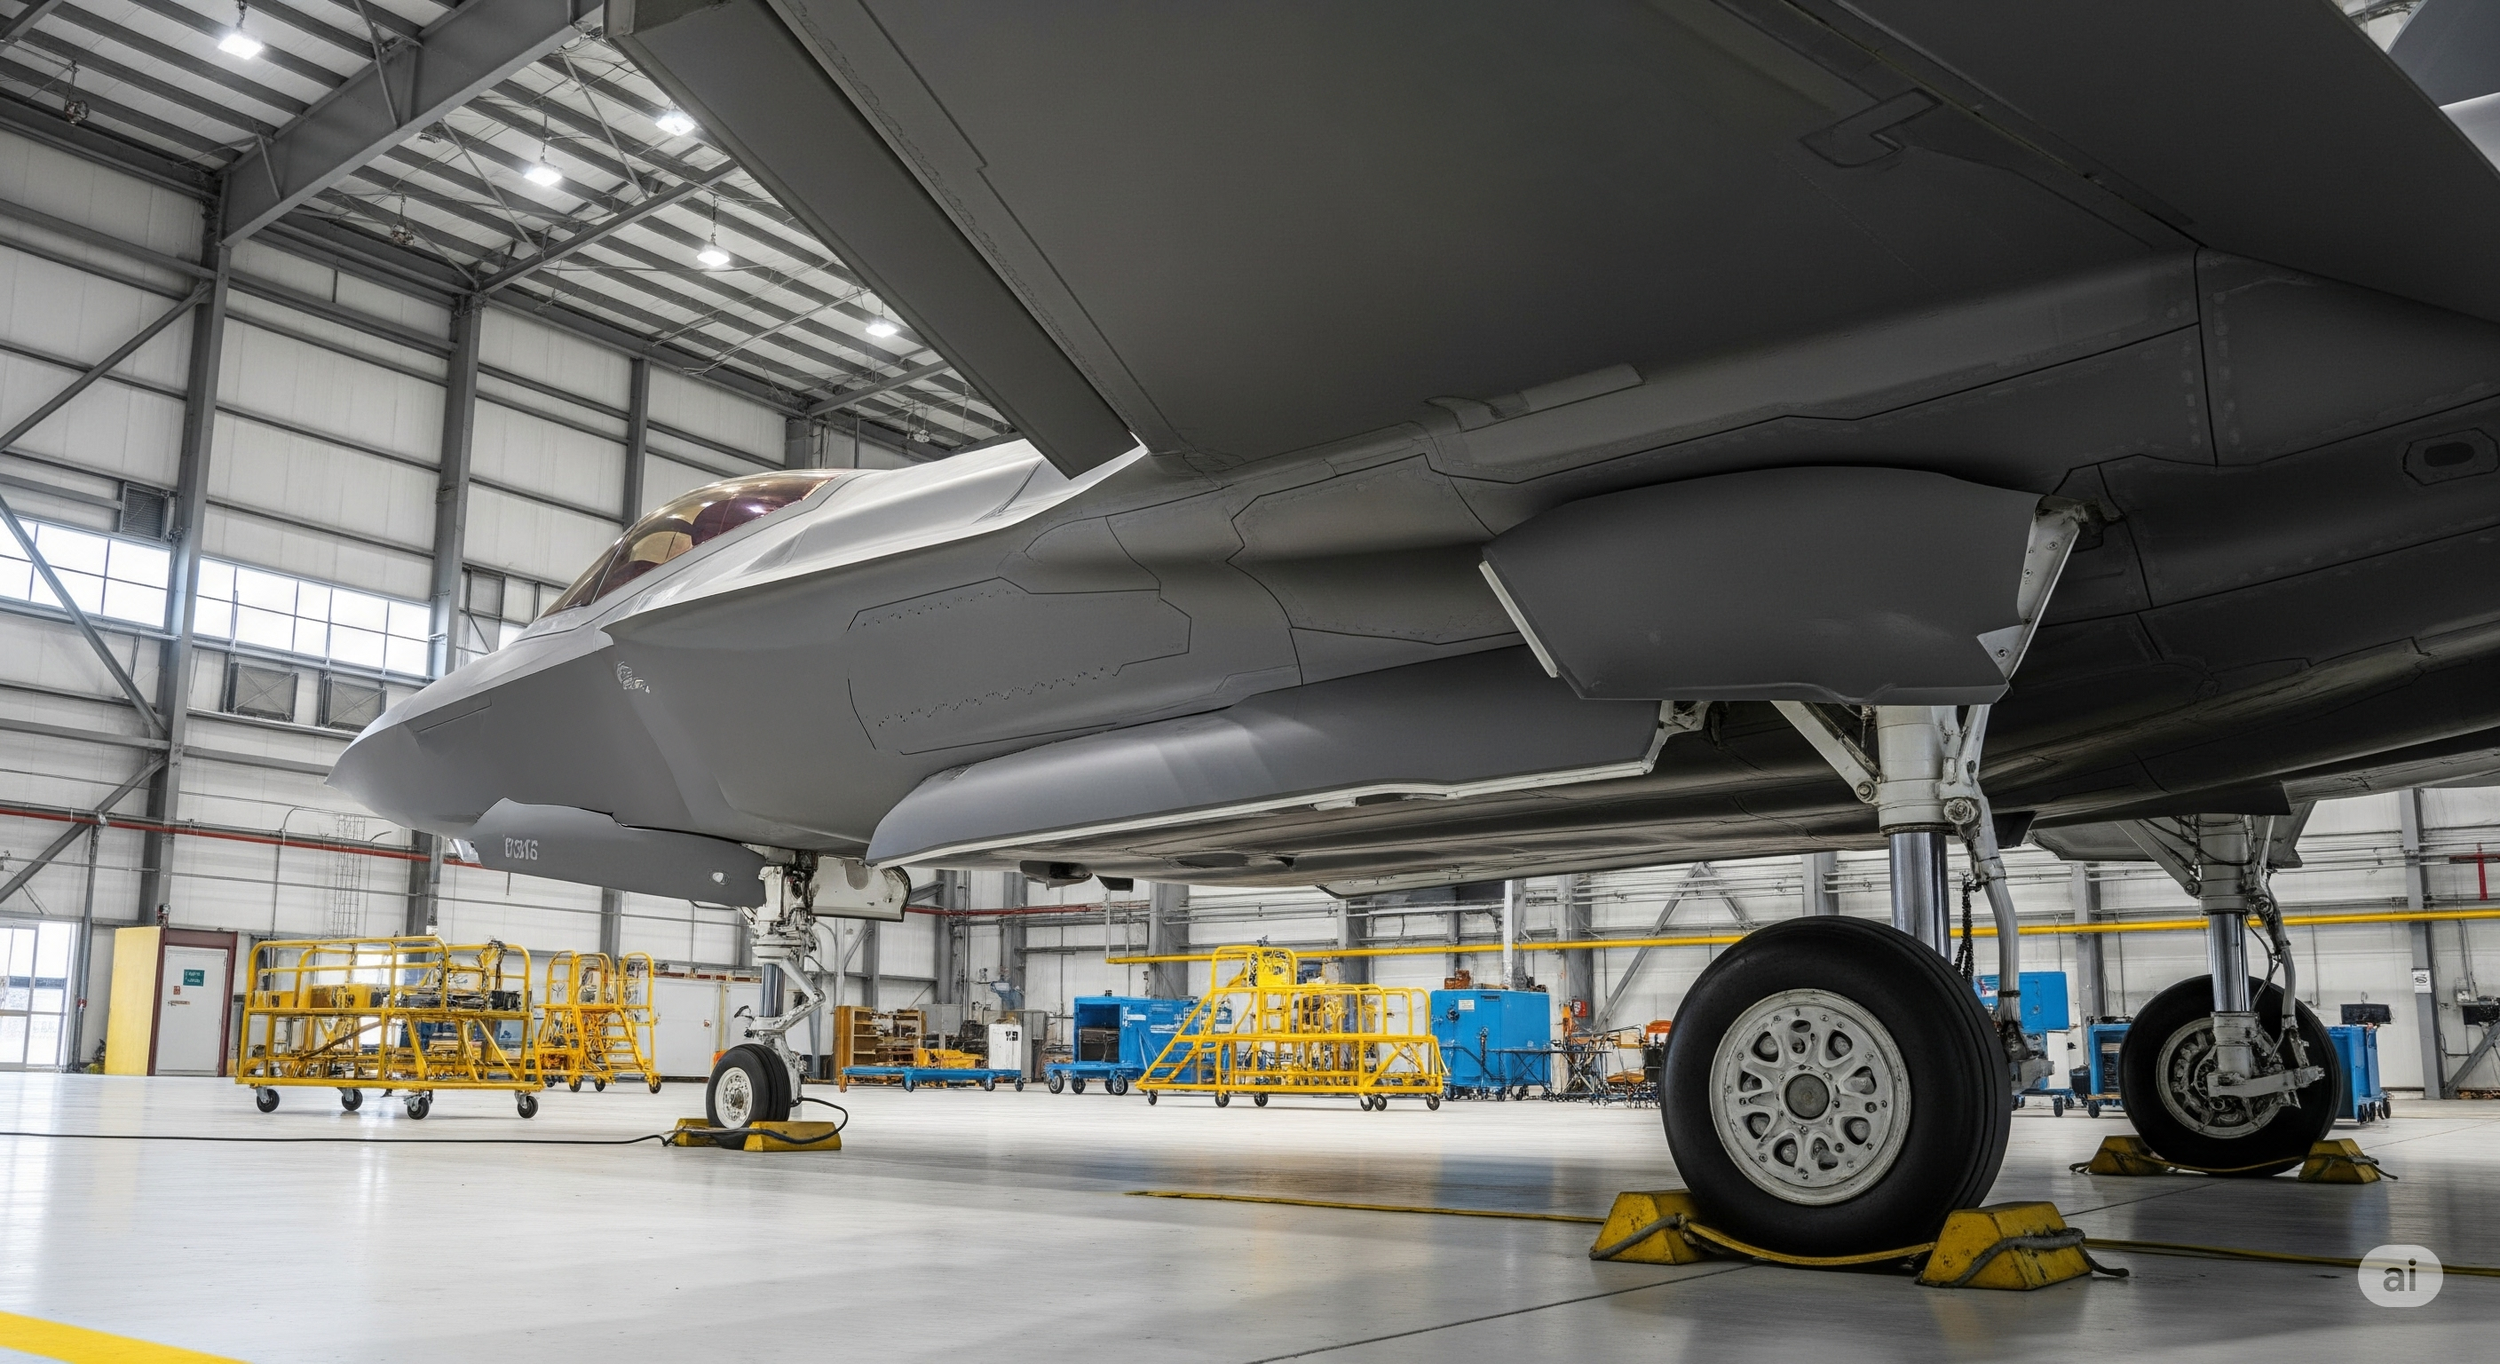
When I met with the team at WilliamsRDM, they walked me through the product and the challenges they were facing from a marketing perspective. The device, called a Smart Weapons Tester, connects to various aircraft to test onboard electronics for faults or shorts. Ideally, the product needed to be shown connected to real aircraft—such as an F-16—to properly demonstrate its purpose and value.
The challenge, of course, was access. Filming military aircraft requires significant security clearances, whether at manufacturer facilities or on active bases. Even with permission, we would have been severely limited in terms of time, what could be filmed, camera angles, and the logistics of traveling to multiple locations to capture the range of aircraft needed.
The WilliamsRDM team initially suggested creating a more stylized, “flashy” product video similar to one we had produced for another product. While that approach could look great, it wouldn’t allow them to show the Smart Weapons Tester in a realistic operational environment. Another option was to travel to a commercial customer’s facility, which provides real aircraft for military pilot training. However, their aircraft had limited liveries and visible graphics that didn’t fit the visual tone we were after. We discussed green screen as a possibility, but it comes with several drawbacks. Then one idea stood out: using a volume wall.
What Is a Volume Wall?
Ben Hoskins:
“I was familiar with volume walls from behind-the-scenes footage of The Mandalorian, so I had a general idea of what Mikon was talking about. What I hadn’t considered was that this technology could be applied so effectively to our own needs.”
Green screen remained another option. While the basic process is straightforward—placing a green backdrop behind the subject and replacing it in post—post-production can become extremely time- and labor-intensive. Tracking, compositing, and lighting matching all add up. After speaking with one of my vendor partners who specializes in green screen work, I was surprised to learn that the costs would be comparable to—or even higher than—the volume wall setup.
We shot a few test scenes using the volume wall, and once the WilliamsRDM team saw the results, they were ready to move forward.
There are a few volume walls in the DFW metroplex and we decided to go with AMS Pictures as I had worked with them many times in the past. The team there was extremely helpful in working with us on logistics, technical details, and helping us create an efficient shoot.
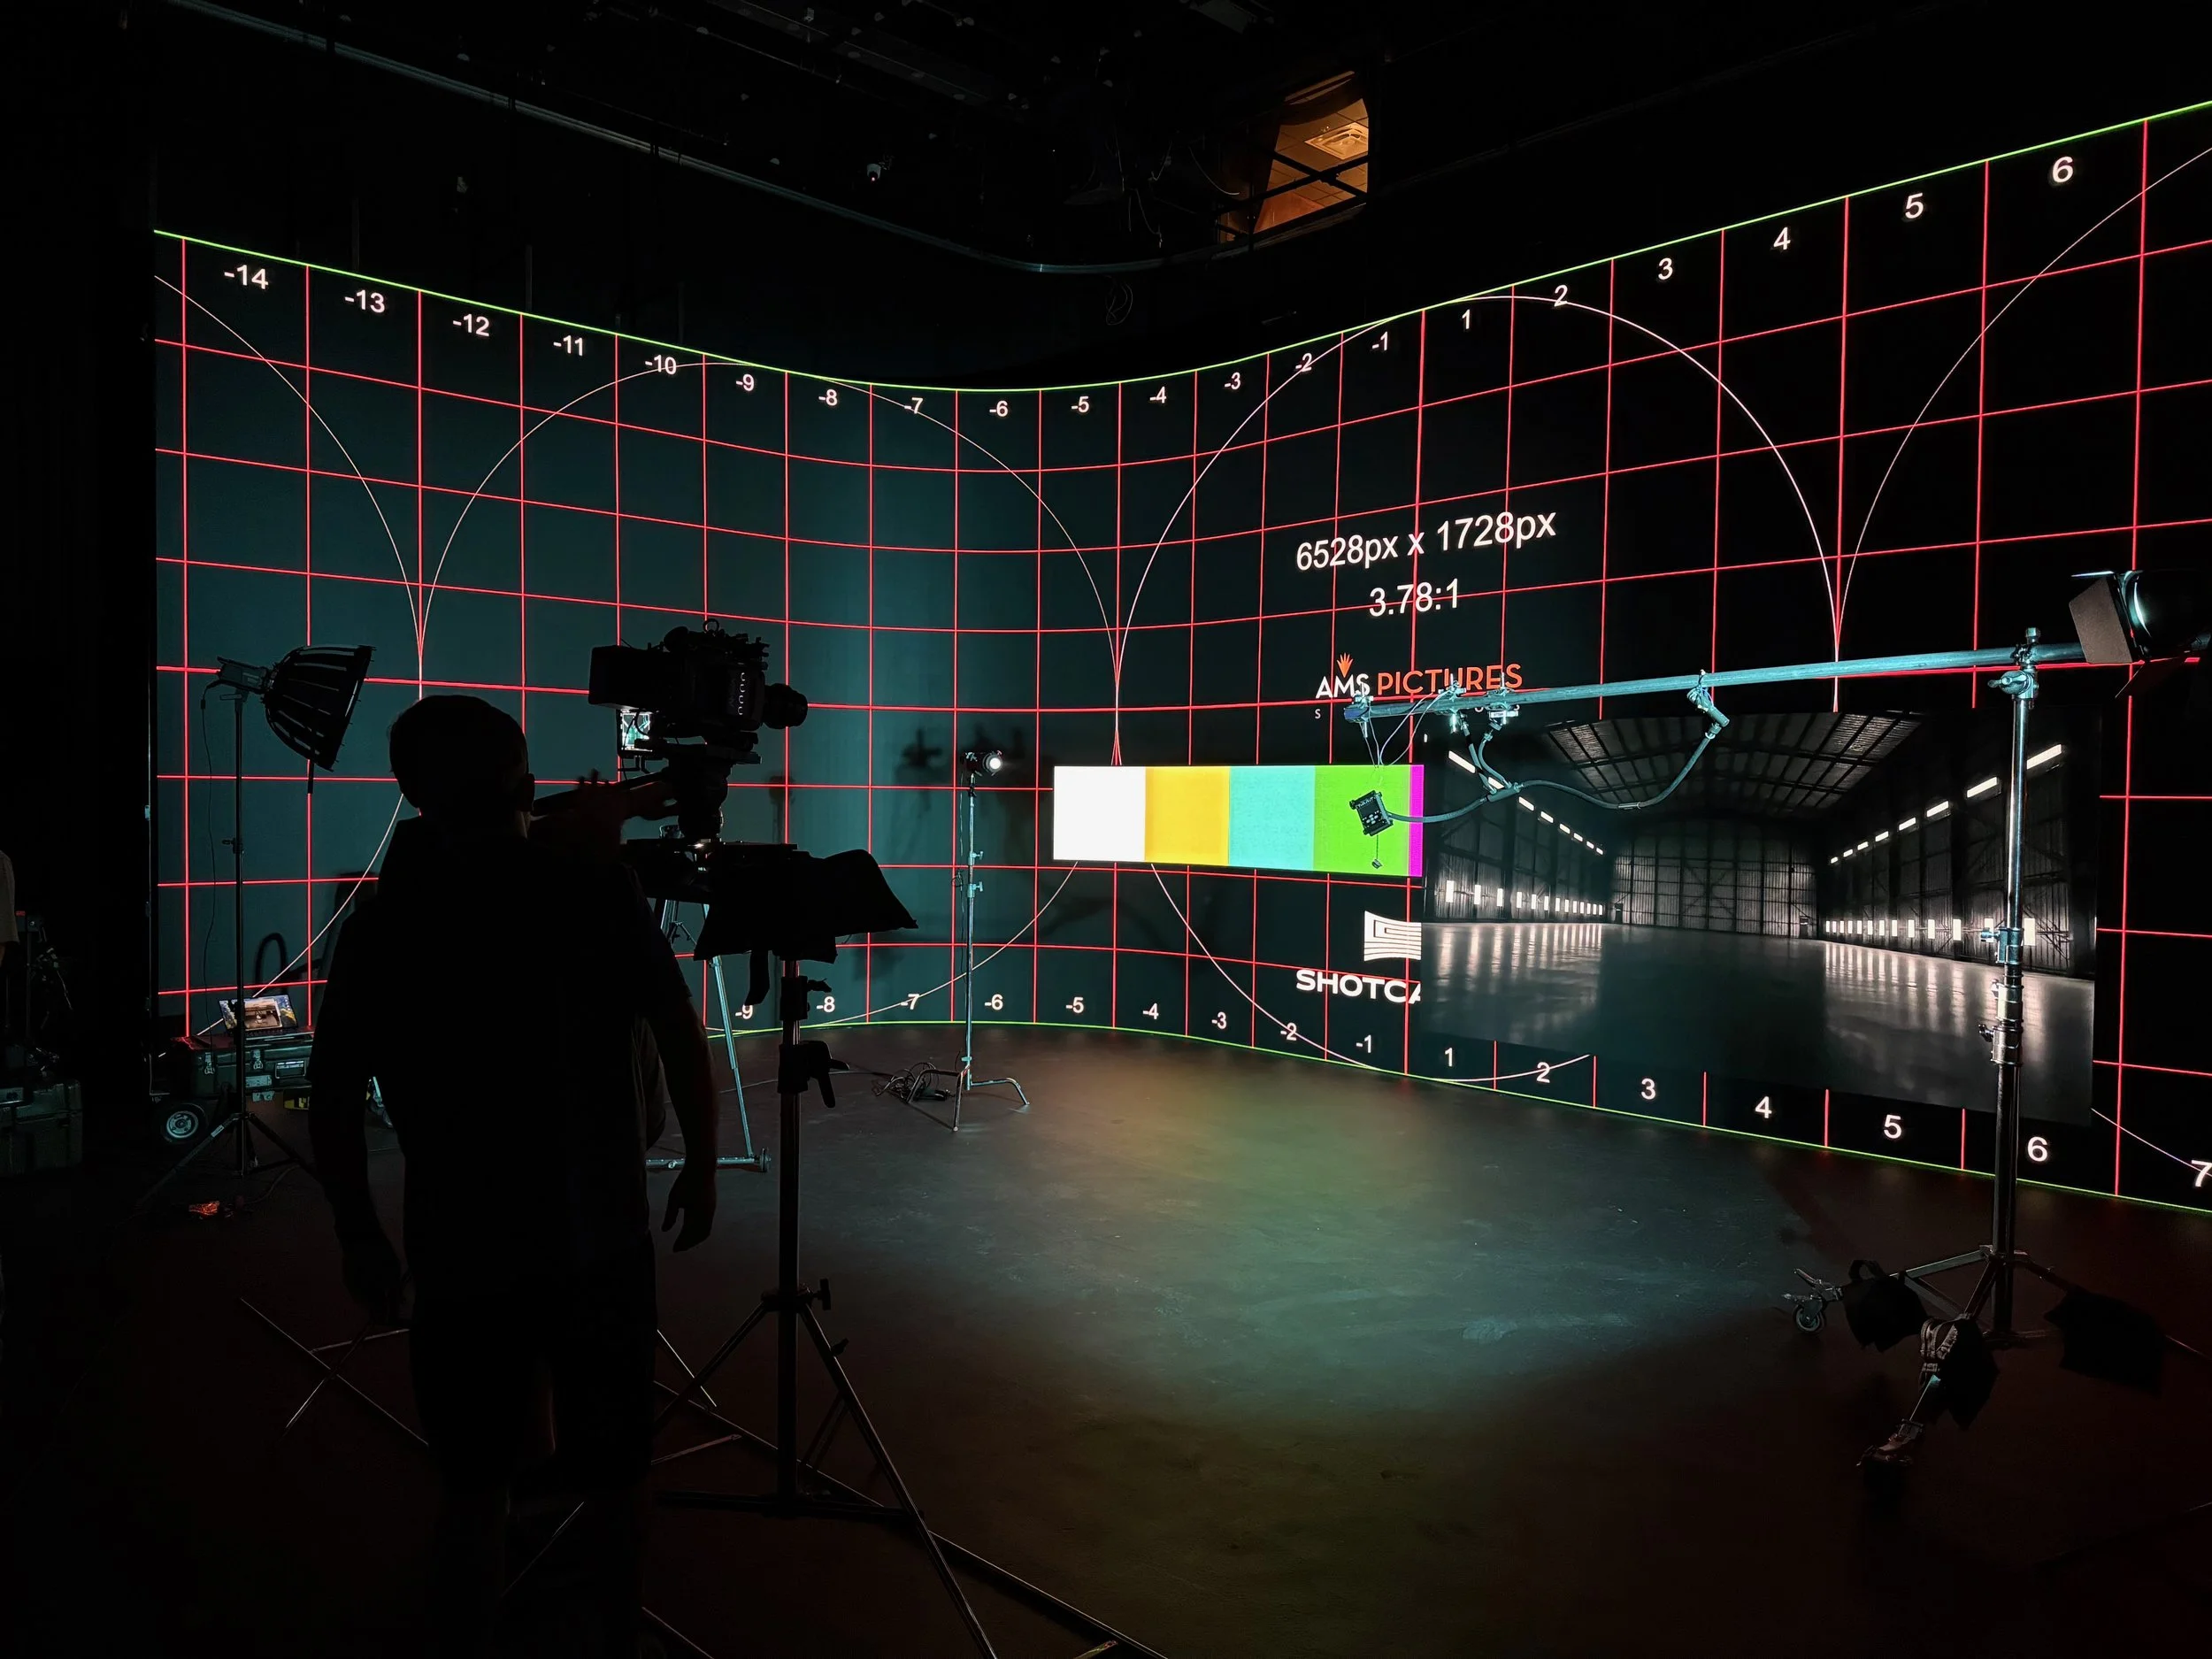
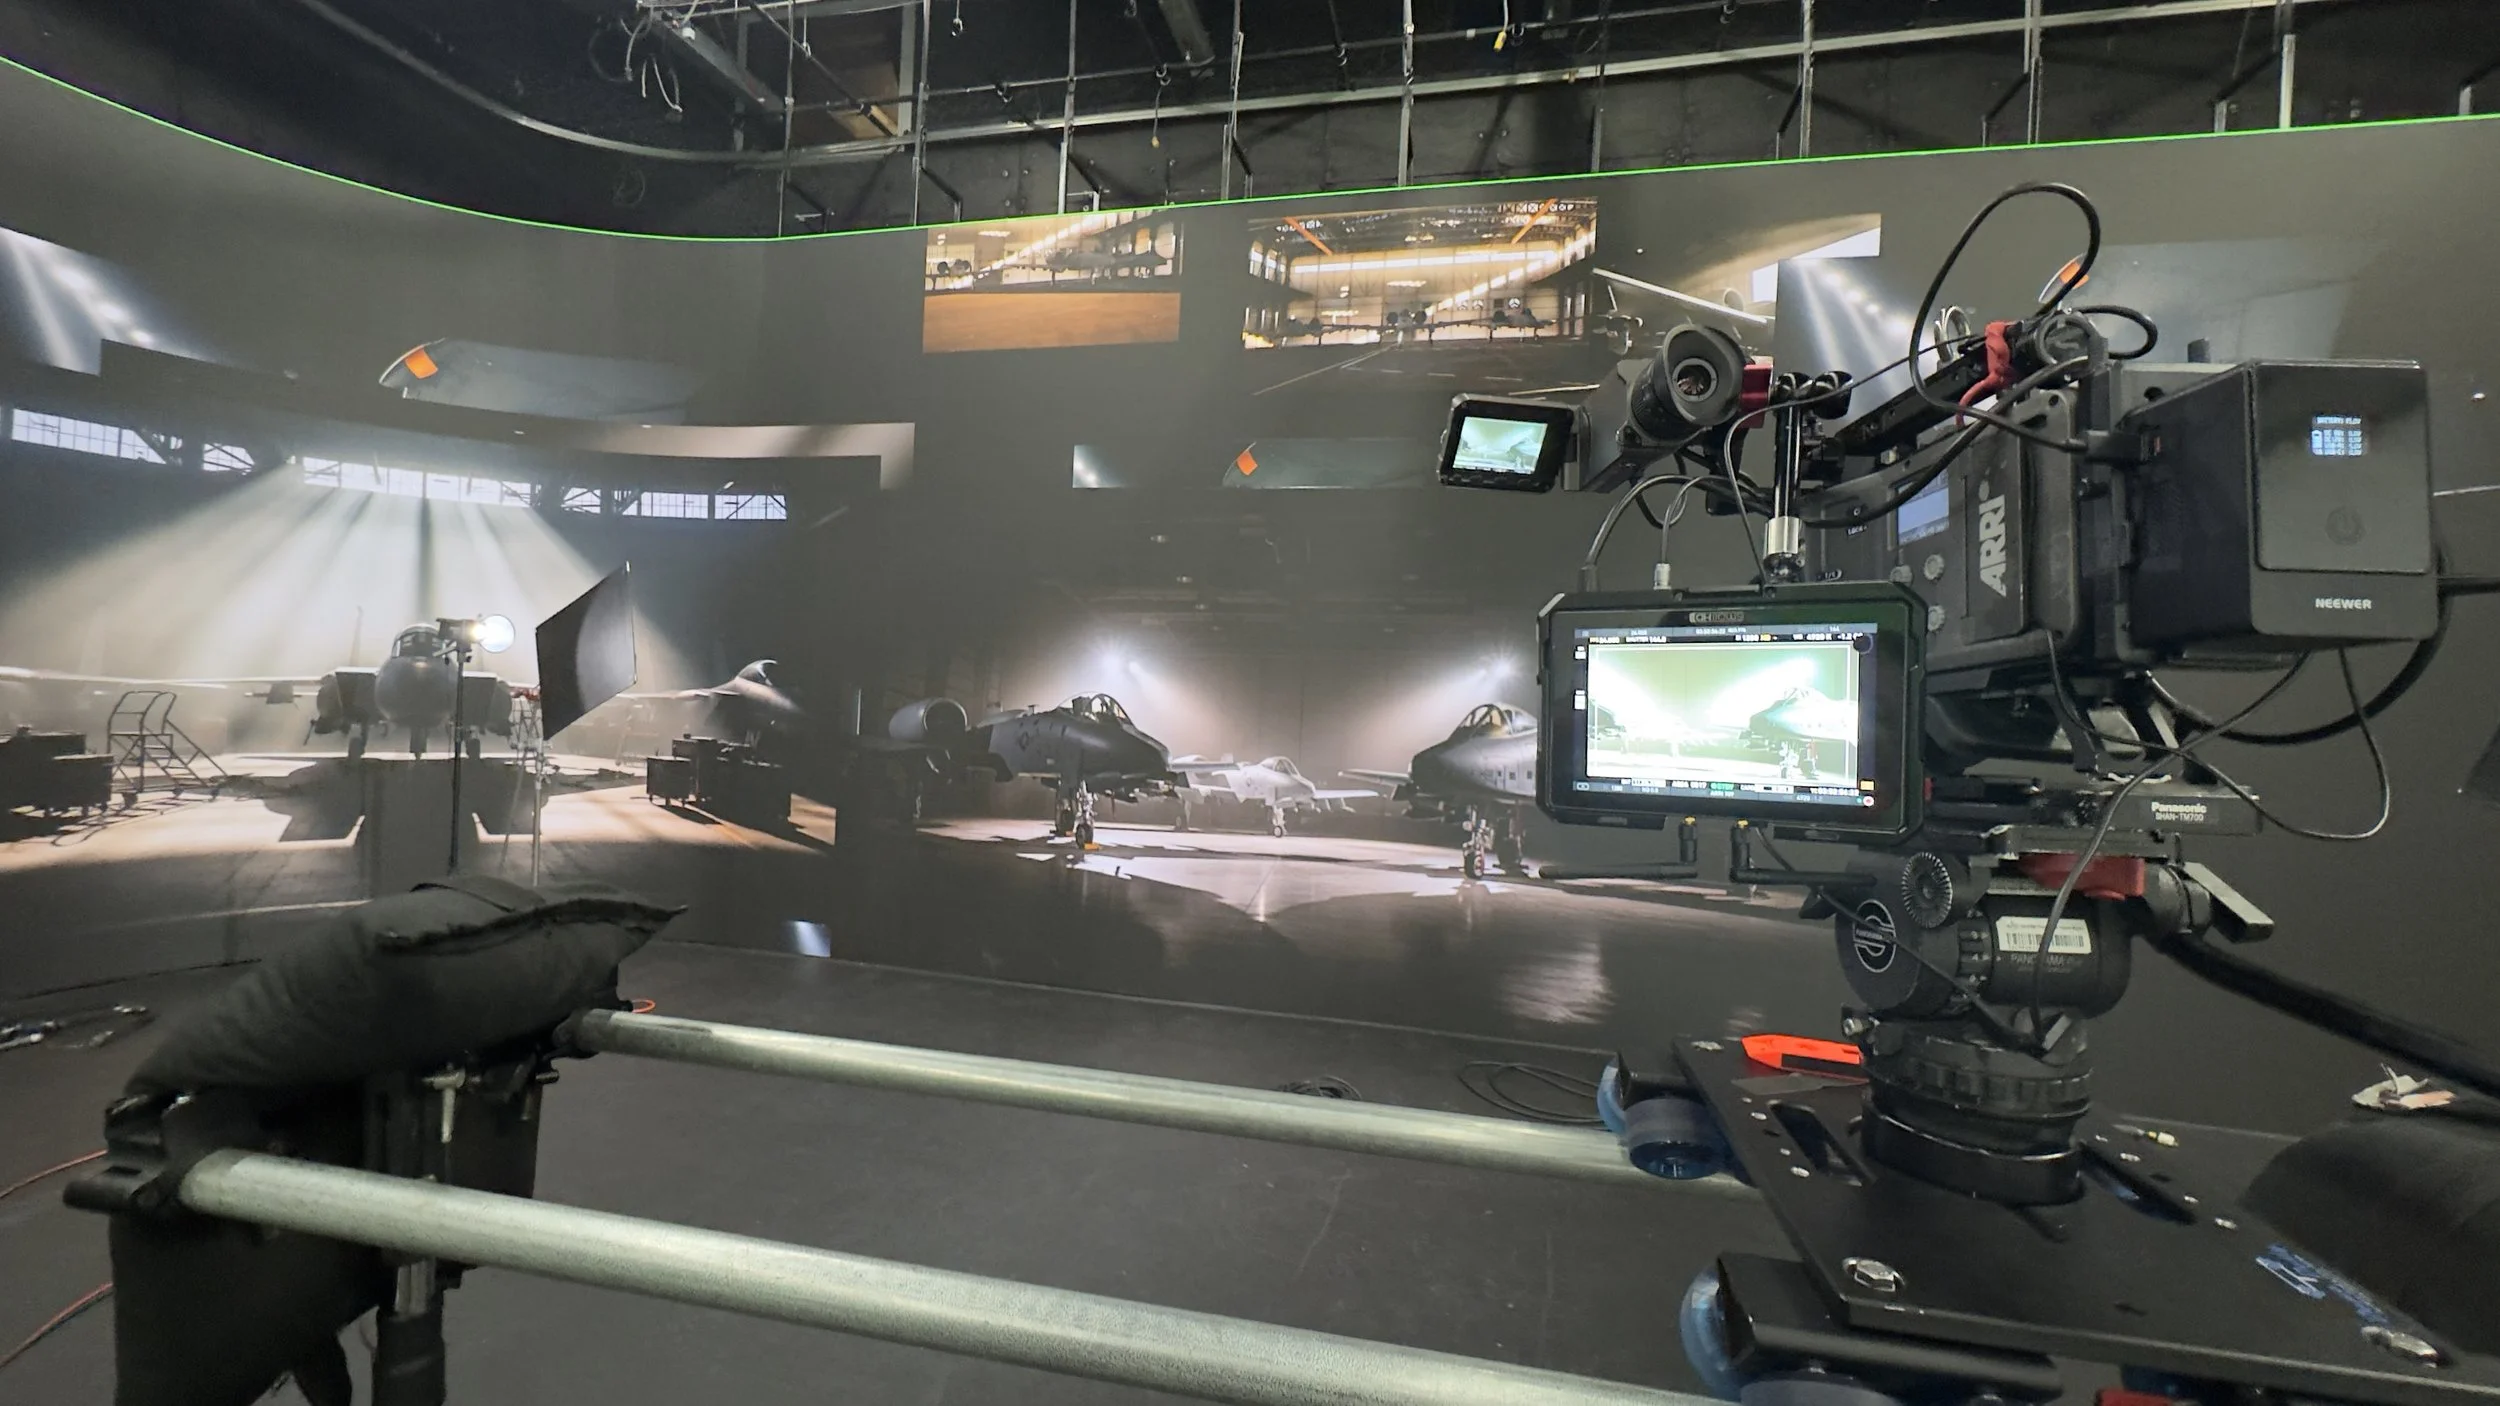
In simple terms, a volume wall is a massive LED screen that functions like a high-resolution computer display. Still images or video can be placed on the wall, scaled, and adjusted to create realistic background plates for a foreground subject.
A more advanced use involves pairing the wall with a virtual camera system that syncs with the physical camera, creating a live 3D environment that reacts to camera movement and maintains proper perspective. Many TV shows and films have used this technology—most notably The Mandalorian.
One of the biggest advantages of a volume wall is flexibility. Backgrounds can be swapped instantly, reflections appear naturally on metallic surfaces, and the wall can even contribute to lighting the subject. Because everything is visible in-camera, adjustments are fast and efficient. The primary drawback is cost, as the technology and infrastructure are still relatively cutting-edge.
Our first test on the volume wall using a phone as the product to demonstrate the realism of the shot.
Creating the Backgrounds
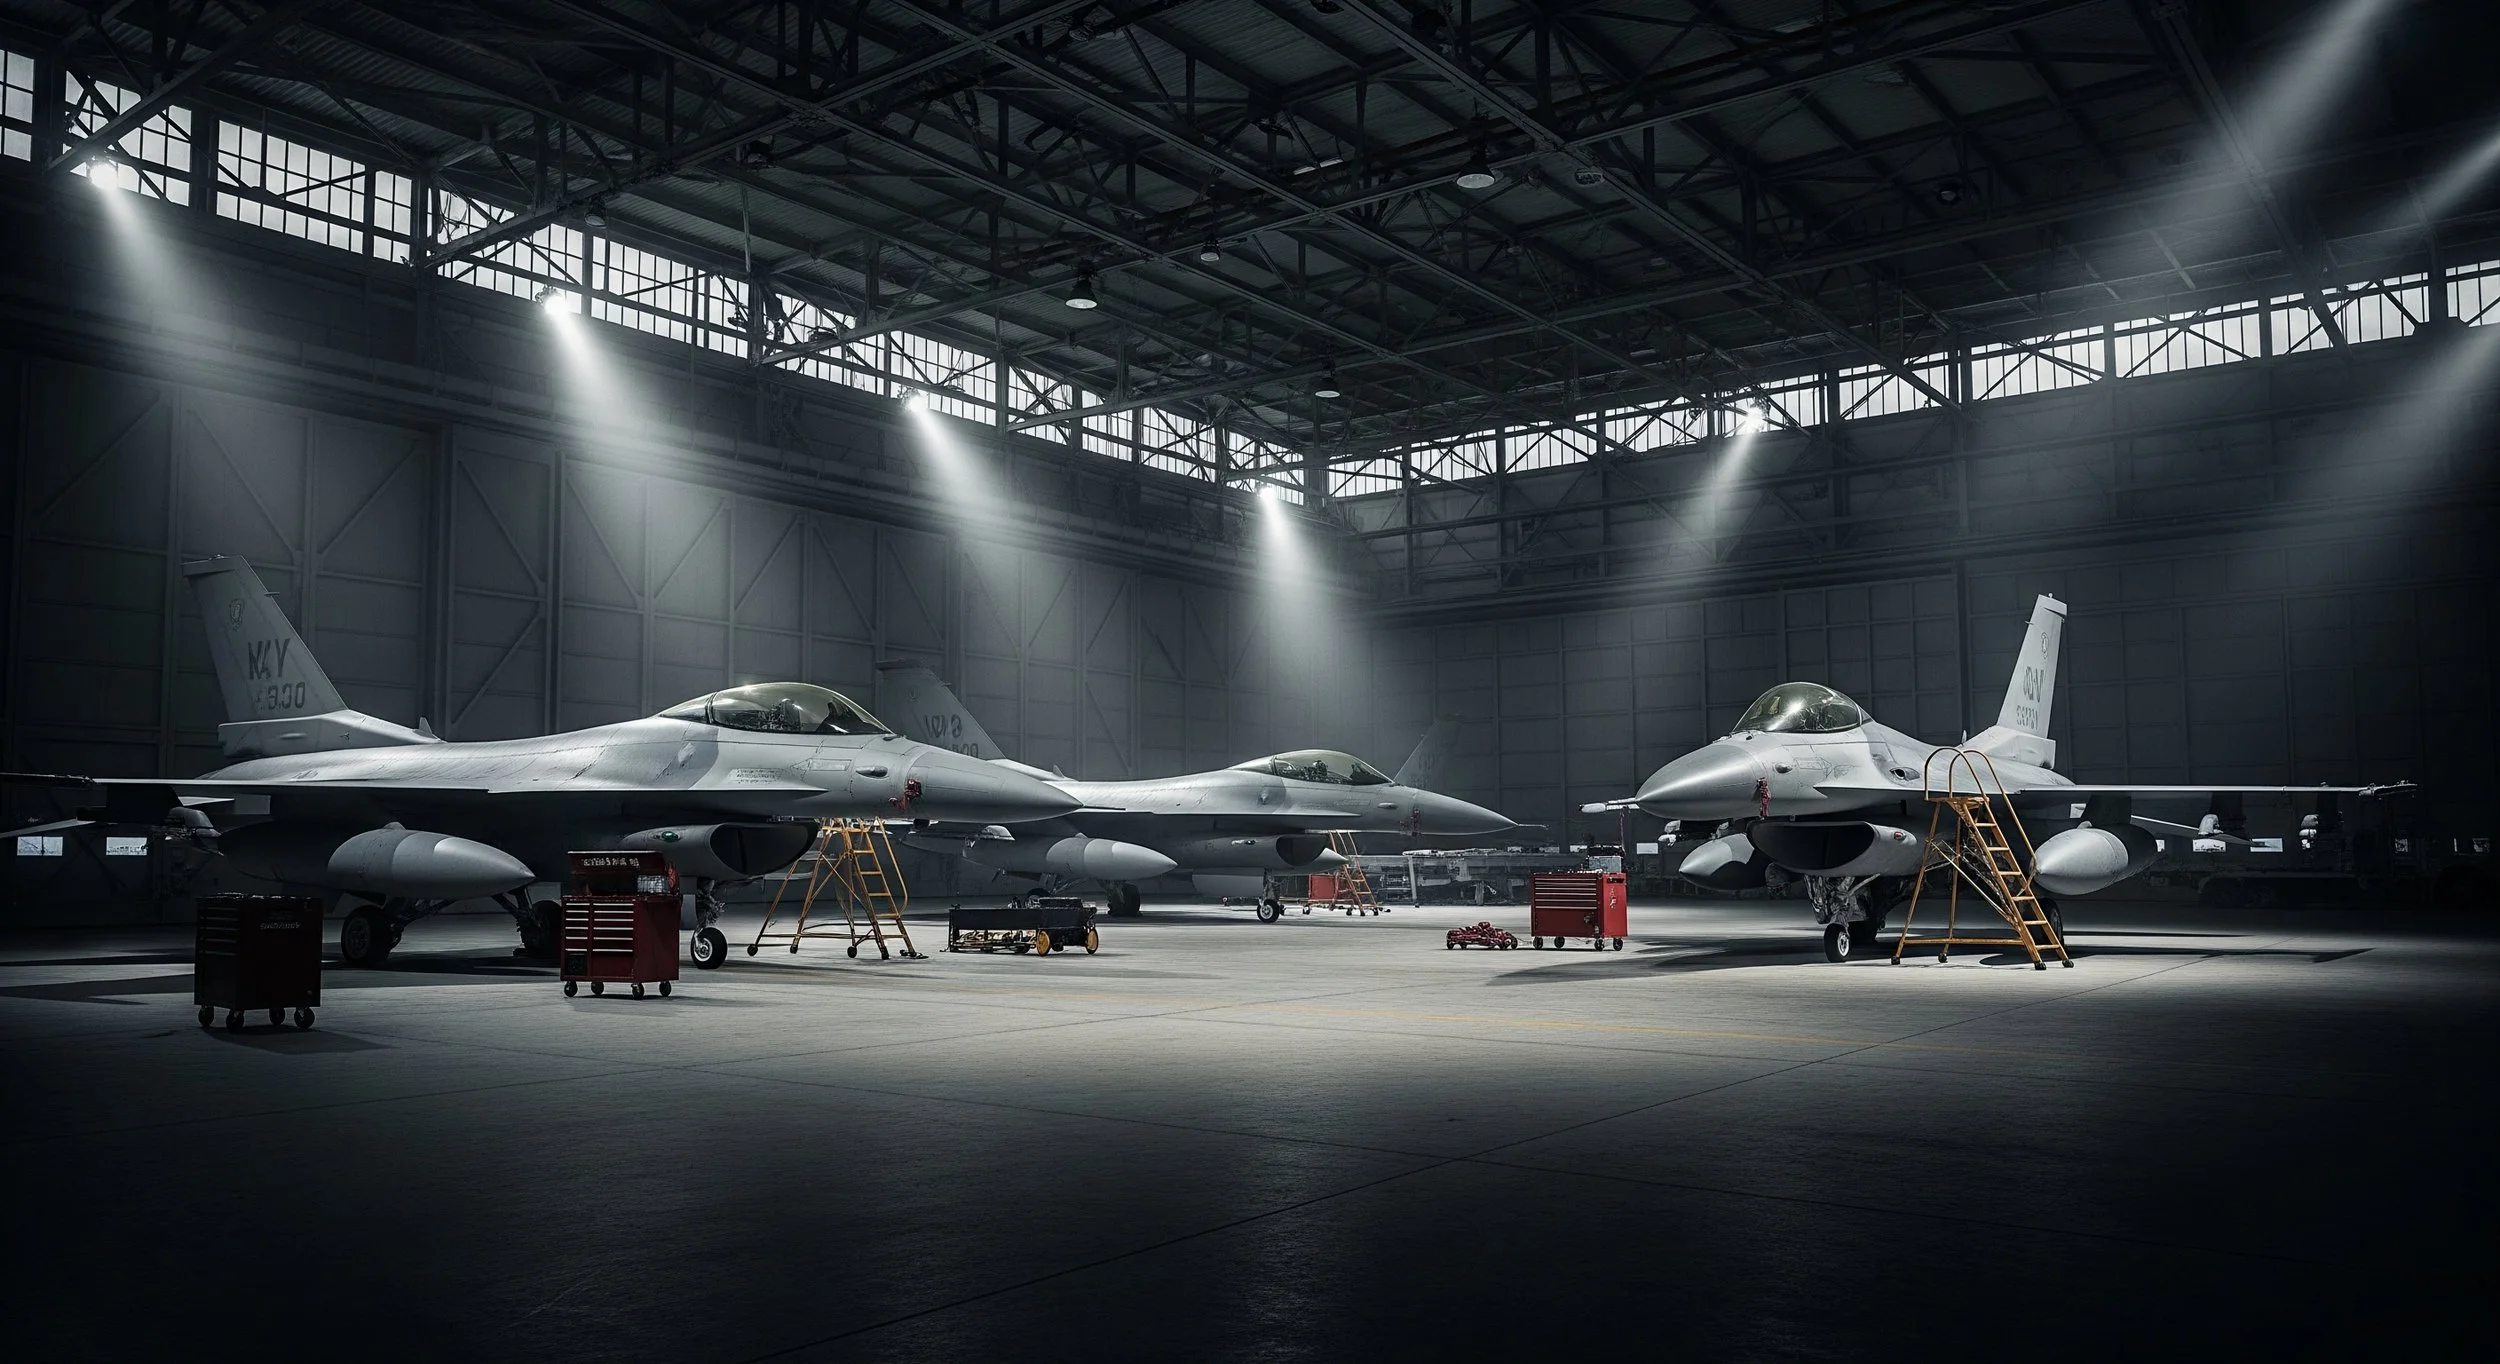
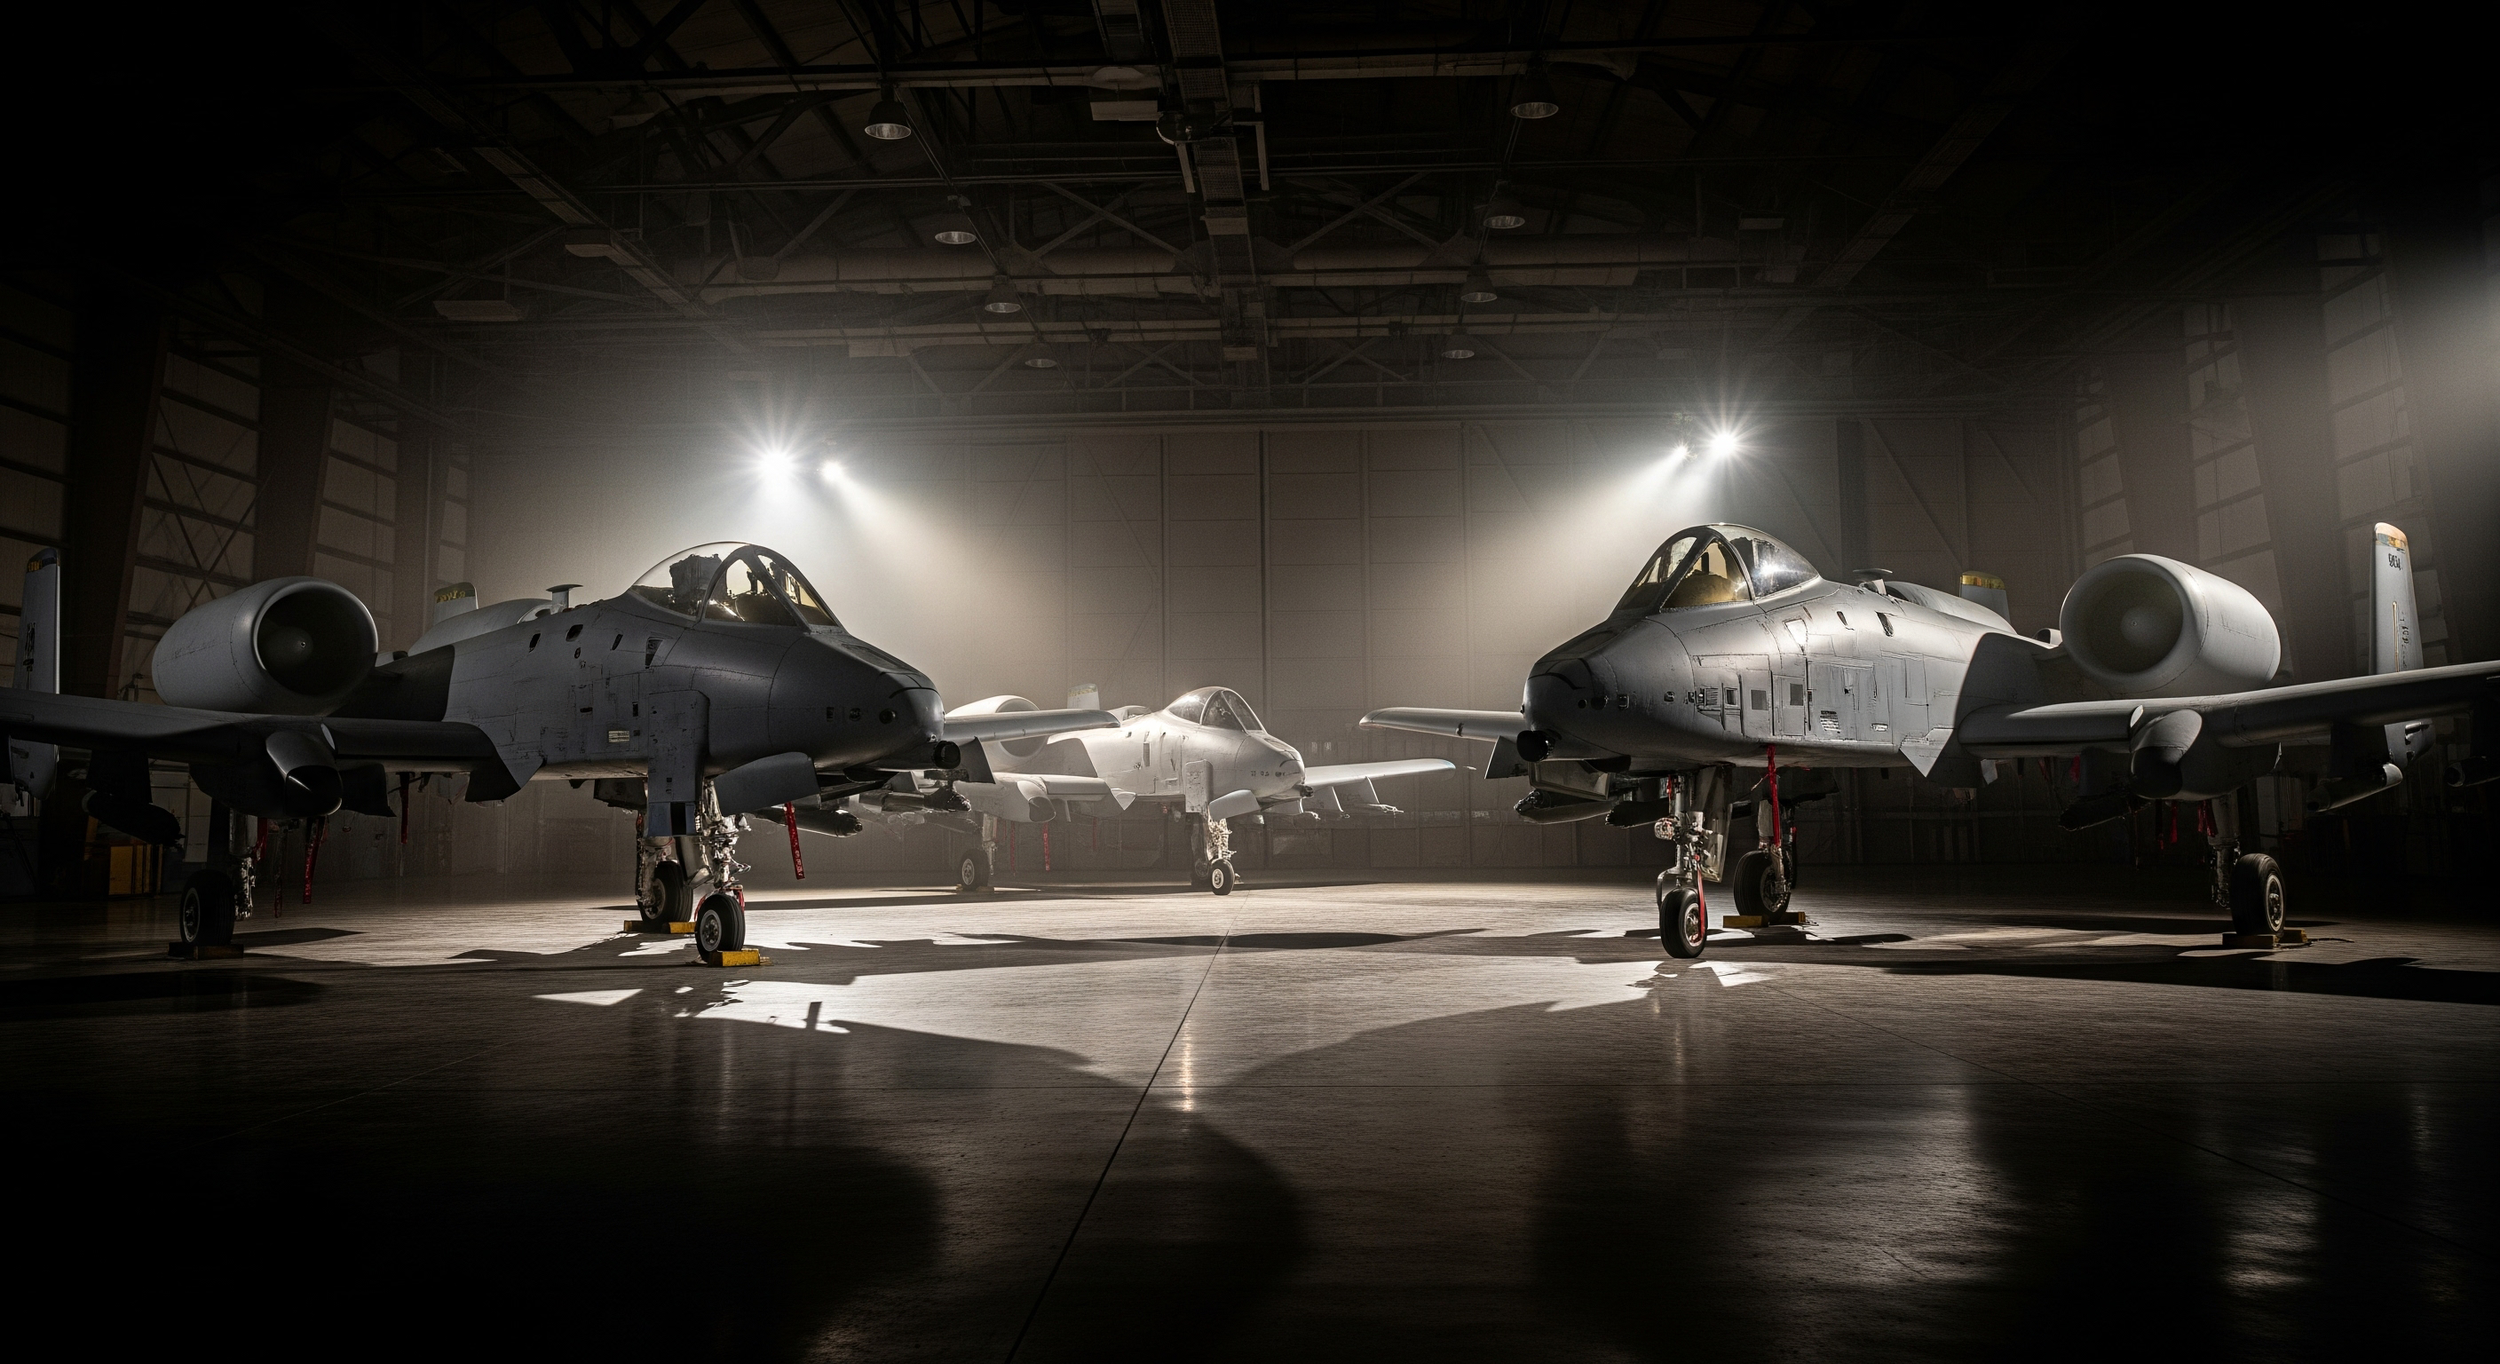
The next step was sourcing or creating the background imagery. Since the Smart Weapons Tester connects under the wings of aircraft, we were limited in finding usable existing imagery from the correct angles. We initially experimented with 3D models, but they didn’t always achieve the level of realism we needed and significantly increased render times.
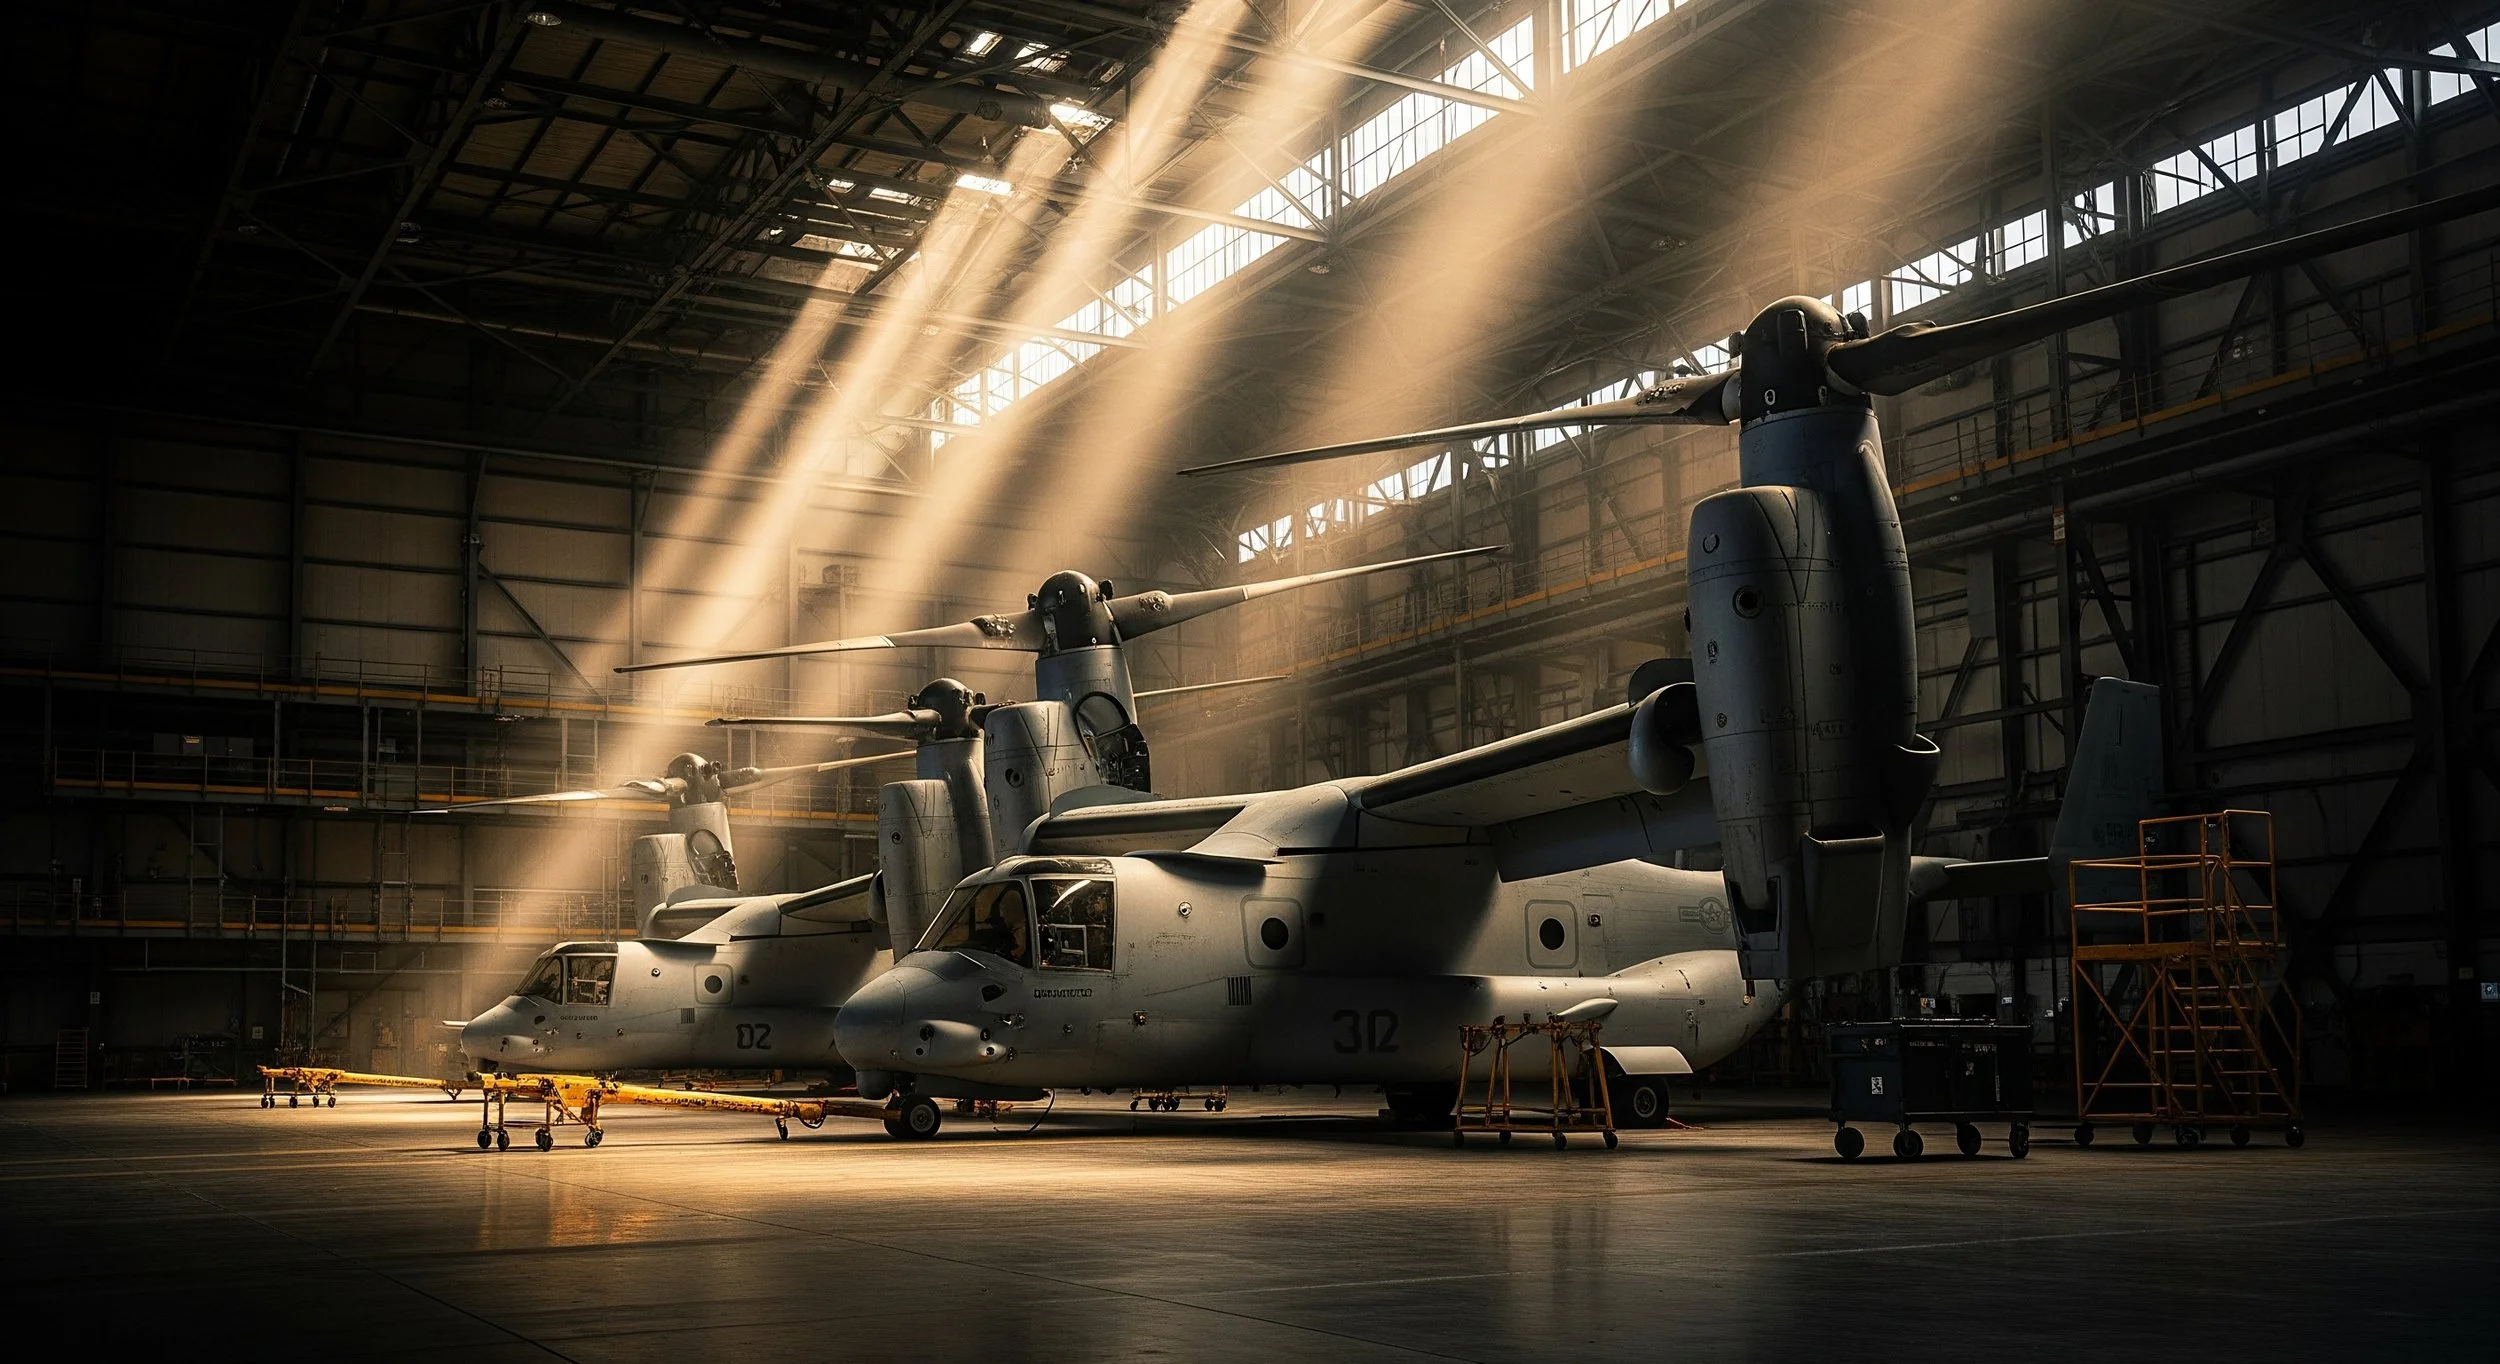
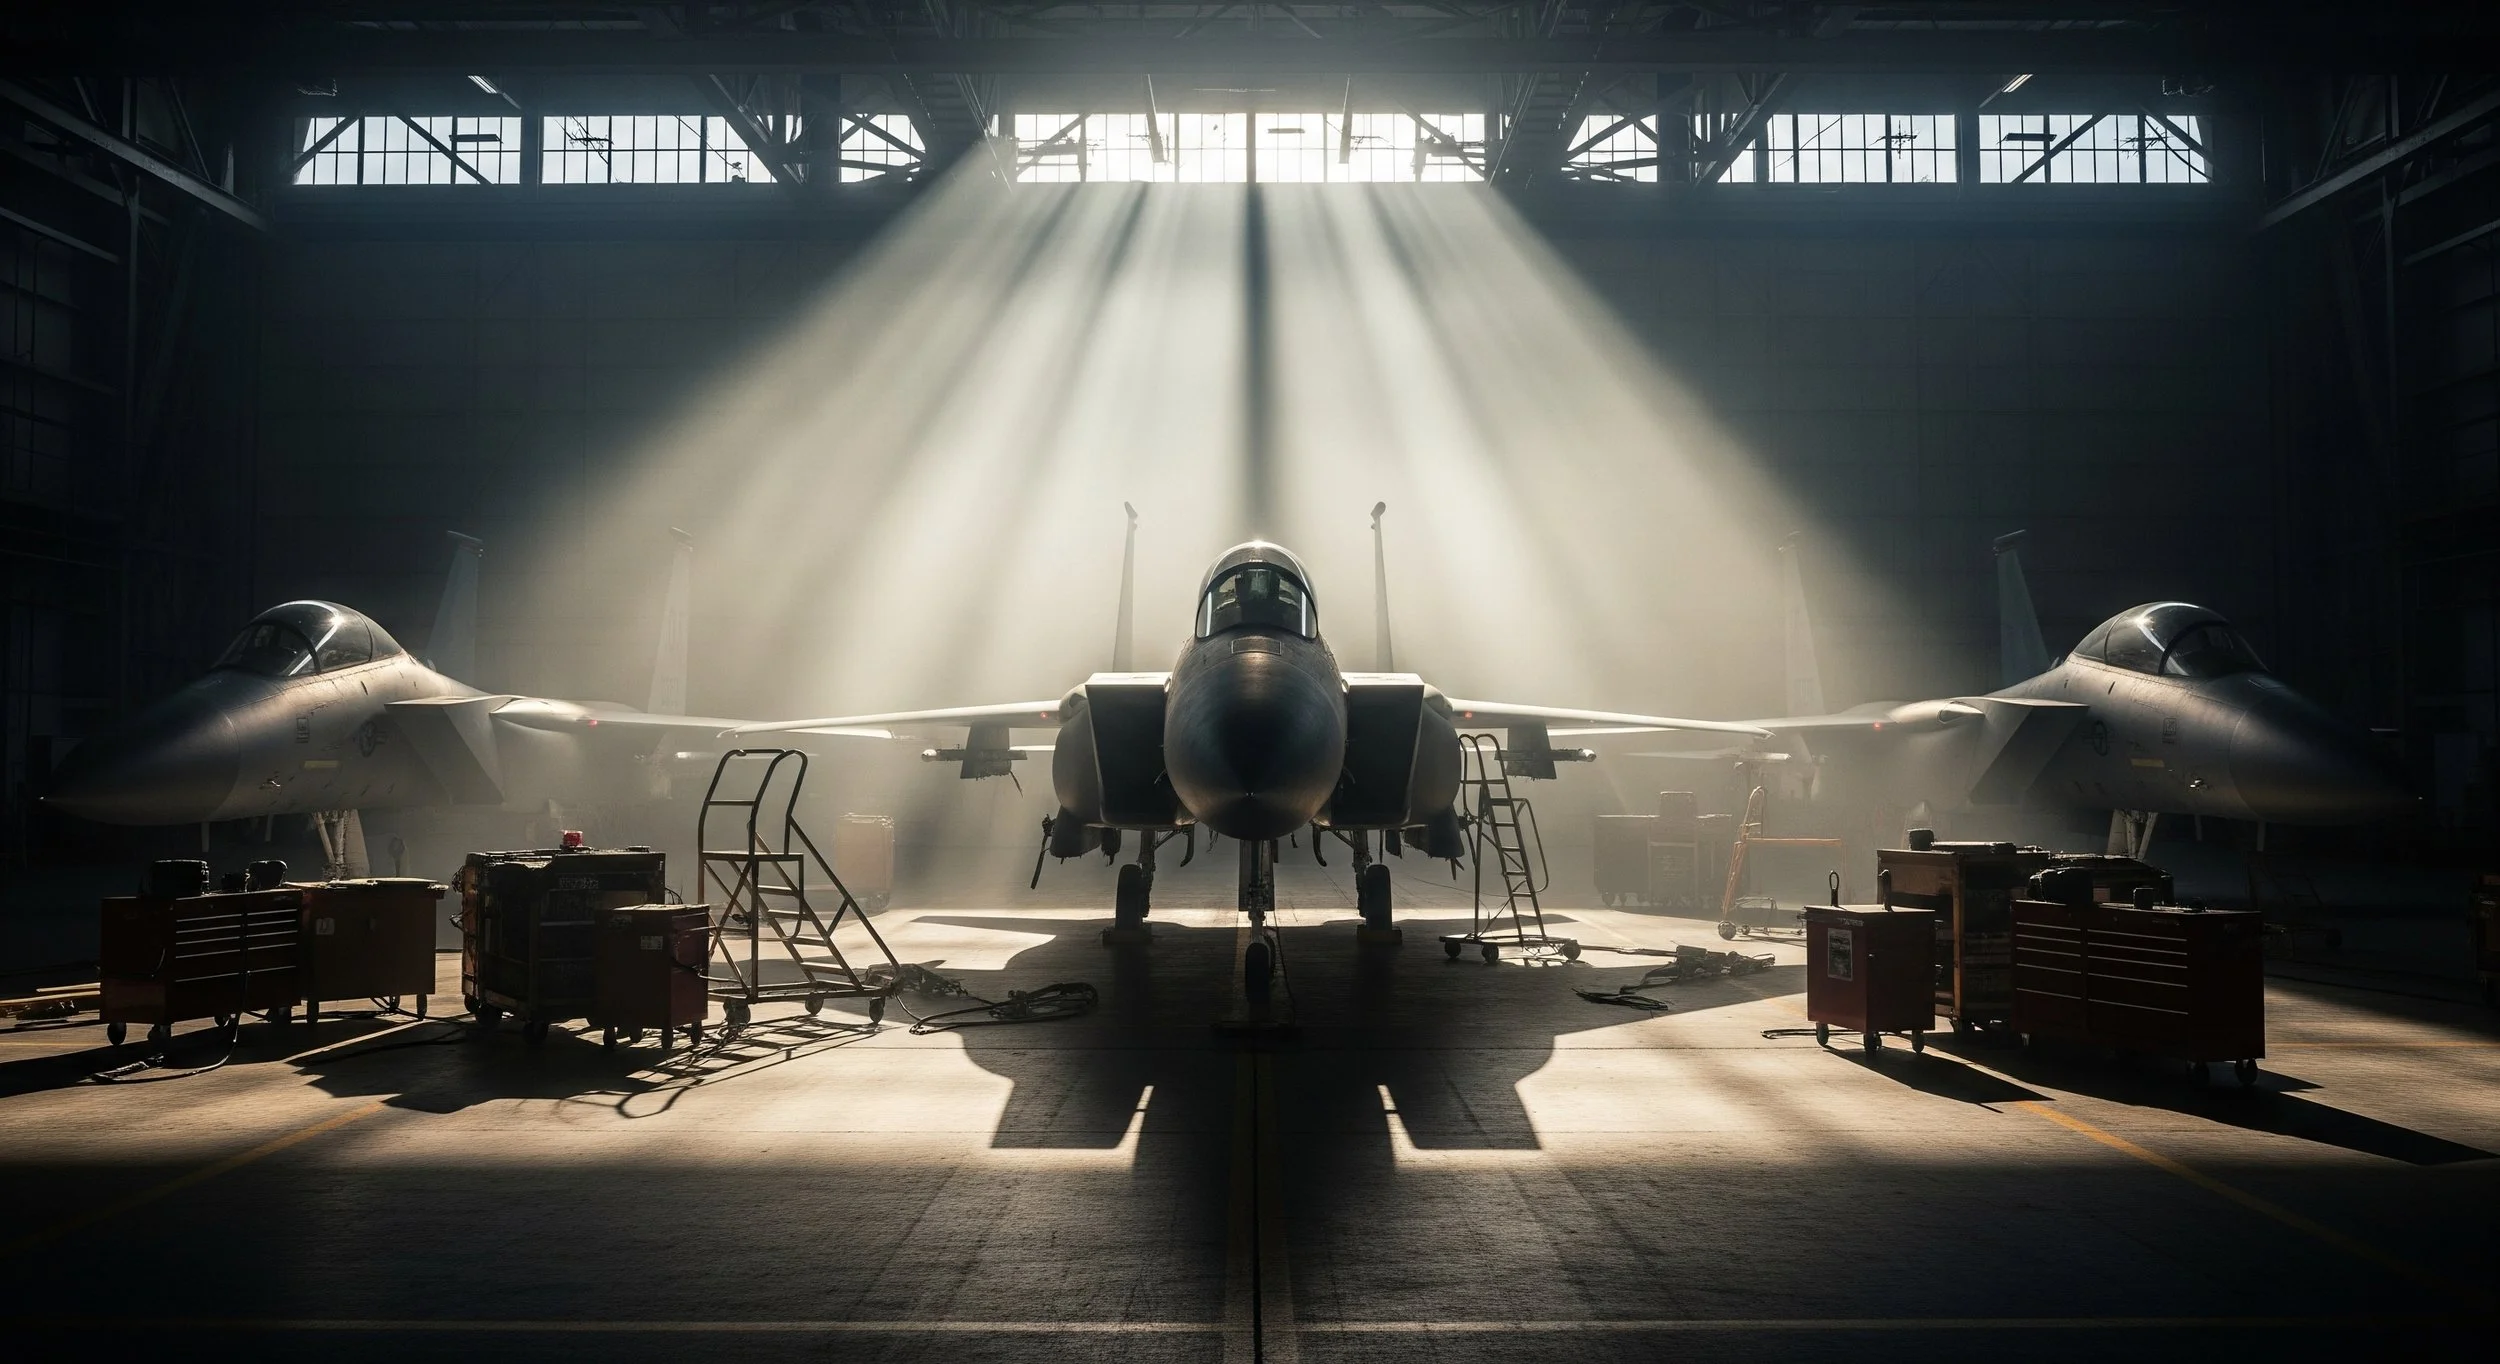
Ultimately, we turned to AI-generated imagery. While the technology is incredibly powerful, getting exactly what we wanted required careful prompting and refinement. Even then, we often had to make additional adjustments in Photoshop to ensure the aircraft looked accurate and consistent.
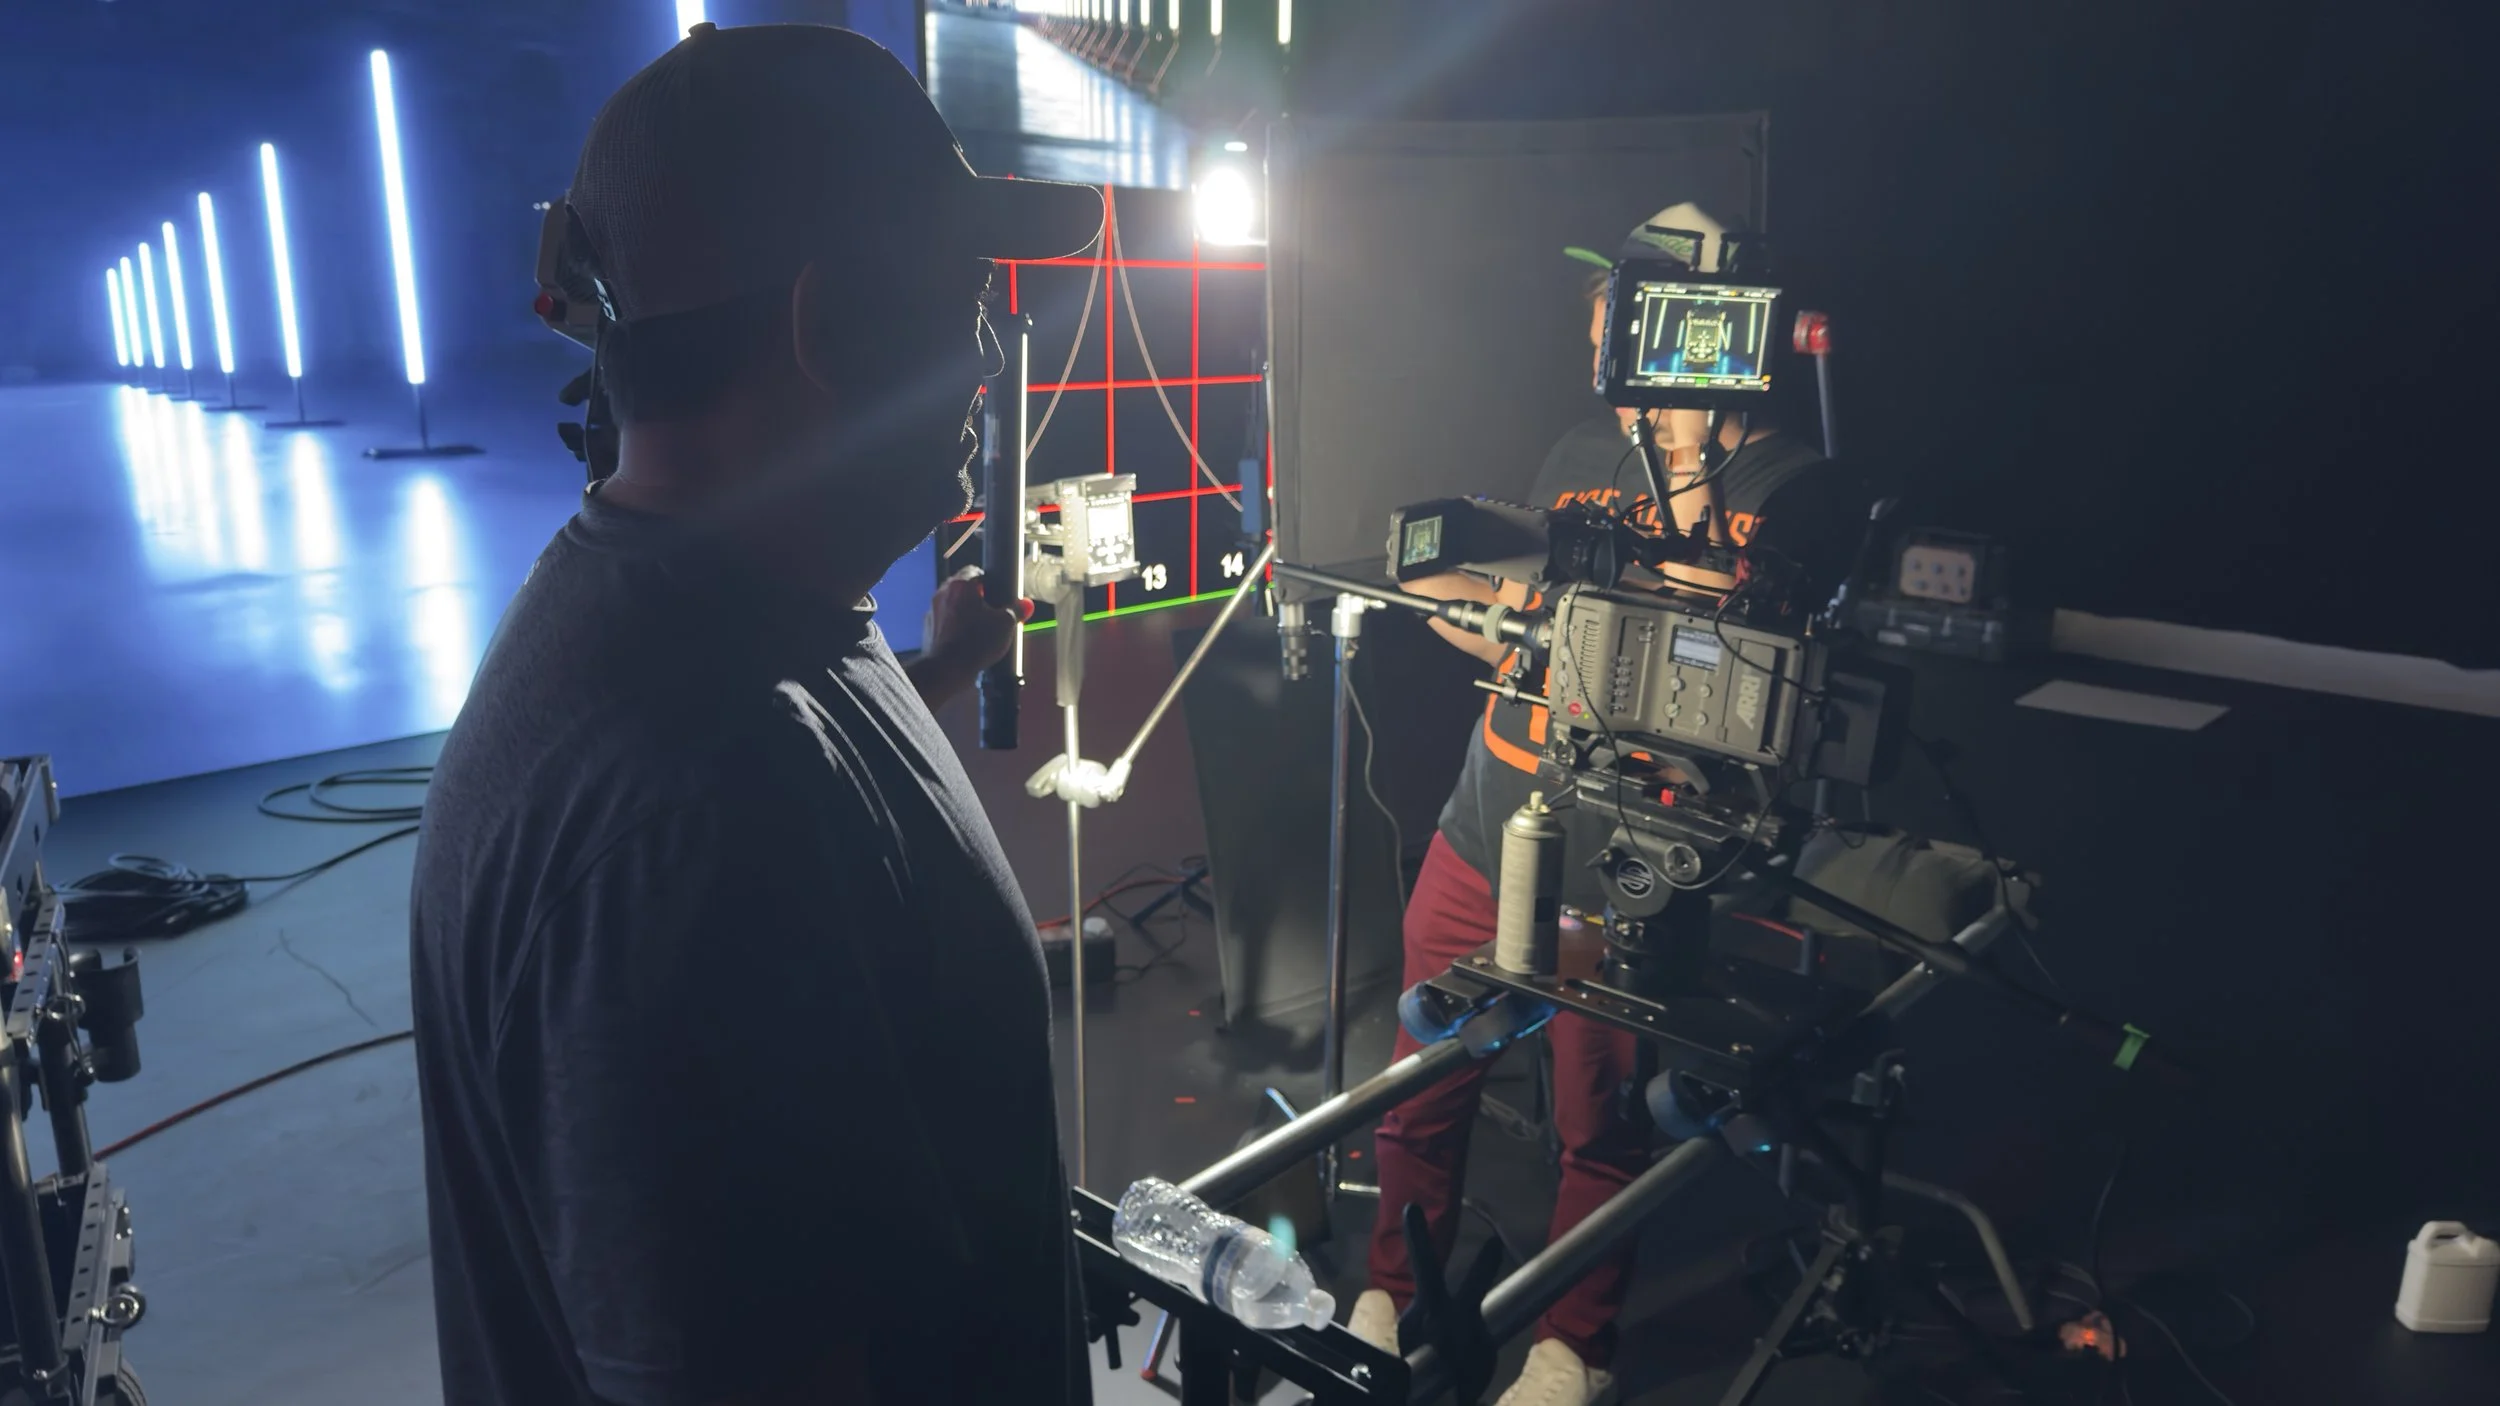
PRODUCTION
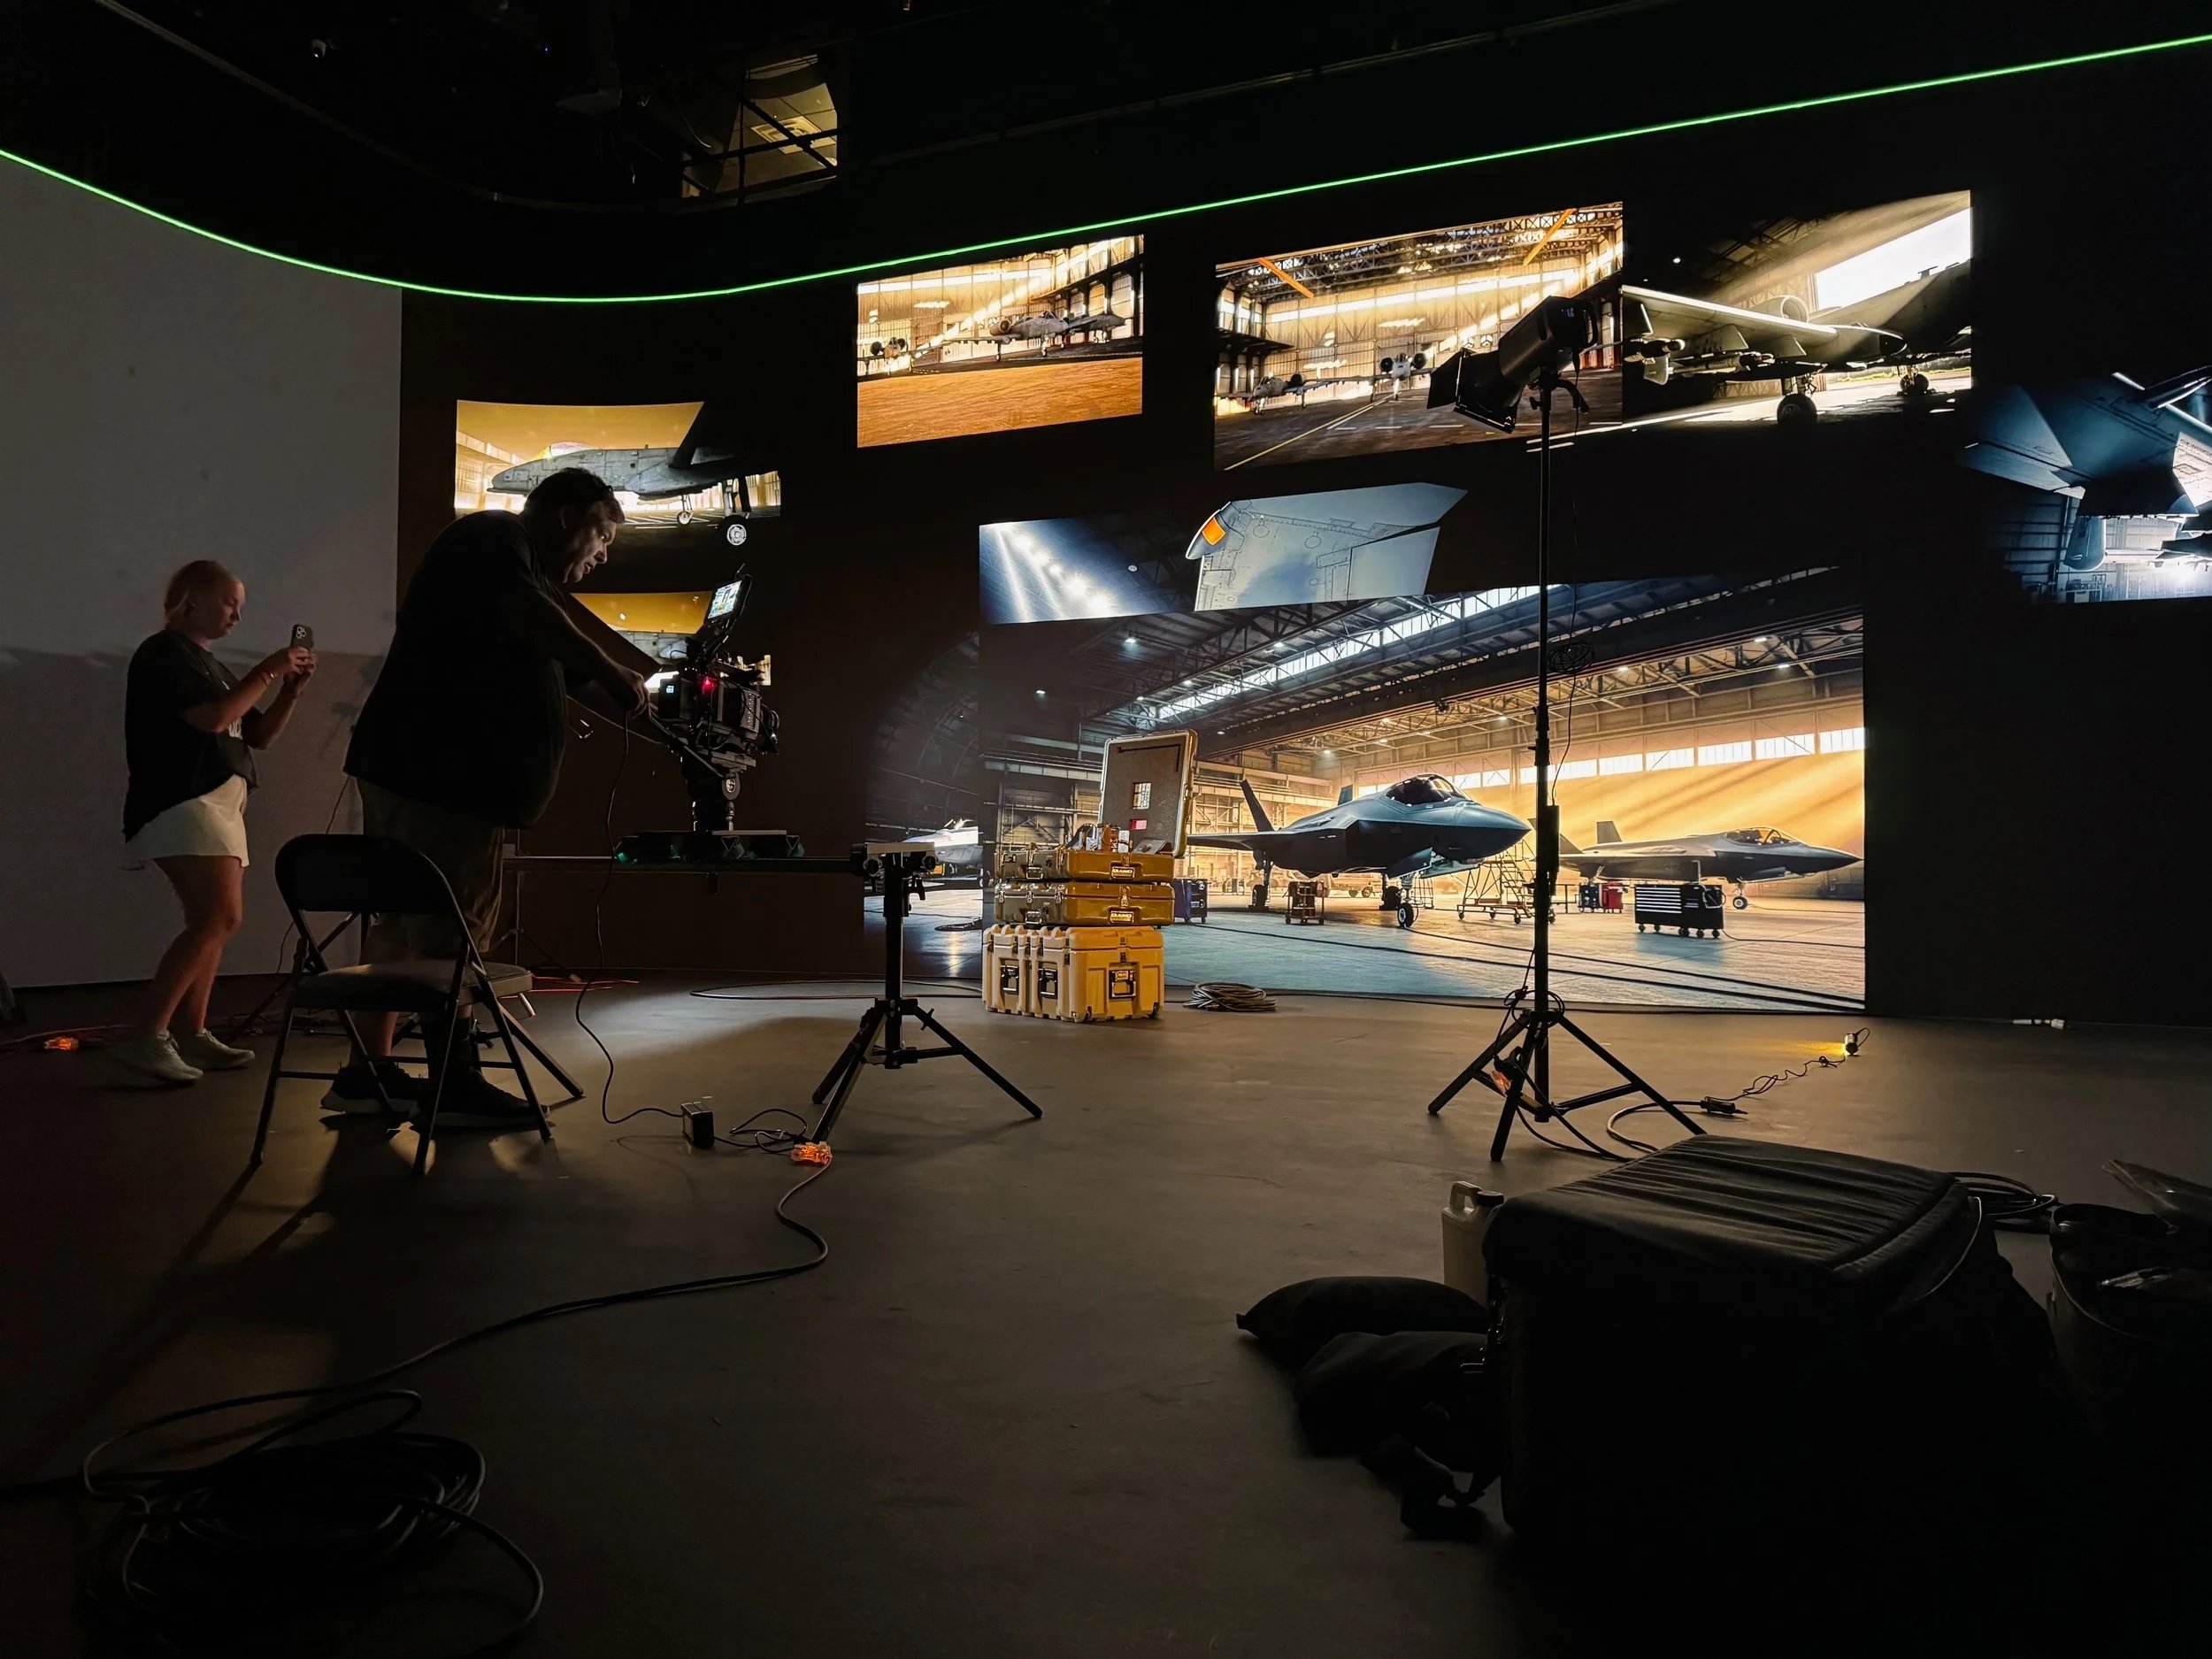
With the help from the team at AMS Pictures, we had two smooth days of setup and production. Our project didn’t require a huge crew and we spent most of our time matching our lighting to the backgrounds to create a more realistic scene.
With the volume wall, we were able to showcase the product across an entire fleet of aircraft—and even include a few extras.
Ben:
“The efficiency of the setup was impressive. Because we could change backgrounds so quickly, we had time to experiment with additional shots and looks we hadn’t even considered at the start.”
By spending one day setting up the equipment and backgrounds and another day shooting, we had ample time to be creative and explore ideas. Whenever possible, I prefer to capture extra material that clients can use down the road. If you’re investing the time and money to produce a video, you should get the most value out of it.
FINAL RESULTS
In the end, while the project wasn’t inexpensive, it was far more cost-effective than the alternative—which was essentially impossible. Recreating these shots in real locations would have required extensive clearances, travel, expense, and time, making the project unfeasible.
The final product was extremely well received by both the WilliamsRDM team and their client.
Ben:
“When we sent the initial mockup to one of our prime customers, they were blown away by how good it looked. Some people even asked how we managed to get permission to shoot with those aircraft.”
The final result of the production for WilliamsRDM
CONCLUSION
In the end, the goal is always the same: helping our clients tell their stories. Every project comes with constraints and challenges, but by leveraging new technologies creatively, we can overcome those hurdles—and deliver results that make our clients genuinely happy.
SPECIAL THANKS:
WilliamsRDM
AMS PICTURES
PRODUCTION CREW:
Producer/Director/DP/ Editor: Mikon Haaksman
A/C: Chris Gomez
Gaffer: Eric Smith
Grip: Collin WIlson
PA: Essence Bynum Hayes
AMS Volume Wall Tech: Jason Starne
AMS Project Manager: Margaret Starnes
AMS Director of Video Production: Andrew Rye
AMS Technical Manager: Cliff Caldwell
Photo Credits: Chris Gomez, Collin WIlson, Mikon Haaksman